Installing
Installing
Installing transmission
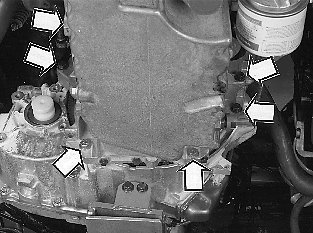
Use mobile jack and transmission fixture to adjust the height and angle.
Locate transmission on engine.
Caution! Take care not to damage the ring on the carrier plate for the flywheel sensor.
Reinstall screws (six screws). Tighten alternately to a light pressure. Then tighten alternately.
Tightening torque: 50 Nm.
Caution! Check carefully when tightening screws that the guide bushings locate correctly in their guide holes and that the torque converter cover is in contact with the engine before tightening.
Remove fixture and mobile jack from transmission.
Lifting engine and transmission
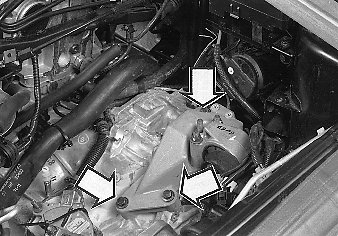
Lower the car.
Raise engine and transmission
Locate and install the upper transmission mounting (3 screws).
Tighten screws.
Tightening torque: 50 Nm.
Remove lifting hook and lifting beam.
Installing transmission-engine screws
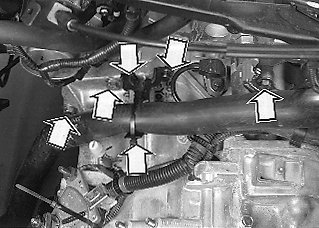
Install:
- Other transmission-starter motor screws (two screws)
Tightening torque: 50 Nm
- Other transmission-engine screws (three screws).
Tightening torque: 50 Nm.
Note! Two screws hold the bracket to the engine coolant hose.
- Clamp the engine coolant hose to the bracket
Installing torque converter screws
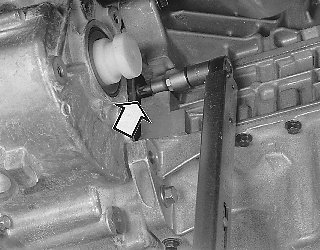
Caution! Use new screws, Torx TX50.
Locate torque converter on carrier plate by turning engine with the crankshaft pulley nut (accessible through fender liner hatch).
Install all screws loosely (six screws). Tighten screws until heads are in contact with the carrier plate.
Then tighten to 35 Nm. Socket Torx TX 50.
Caution! Remove socket from crankshaft when the work is complete.
Installing front and rear brackets
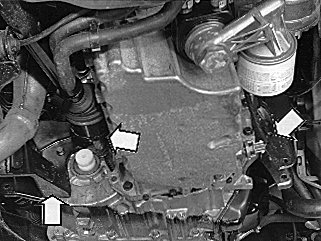
Check drive shaft position. Check carefully that it is below the rear bracket when installing.
Install:
- Front and rear mounting brackets to transmission housing.
Tightening torque: 67 Nm
- Screw on exhaust pipe mounting.
Installing left/right drive shafts
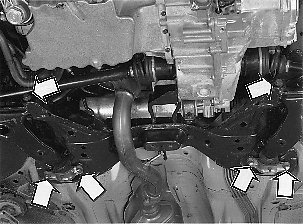
Install drive shafts in [1][2]differential housing.
Hint: Use mobile jack 998 5972 JACK 998 5972 Jack as a support under the control arm.
At the same time locate stub axles on spring strut. Install screws loosely. The nuts will be installed later.
Caution! Take care not to damage boots and sealing rings.Press in drive shafts properly.
Checking drive shafts
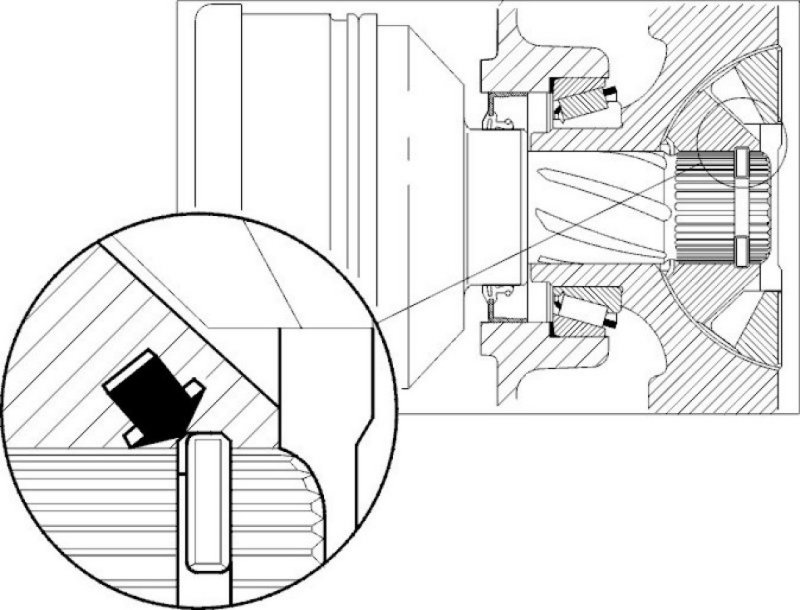
Check that drive shafts are locked into place in the [1][2]differential drive by carefully pulling the drive shaft constant velocity joints.
Installing longitudinal member
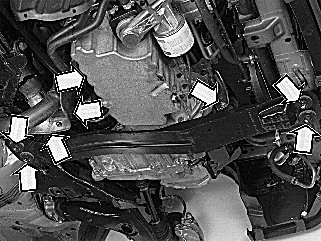
Install:
- c member under engine (four screws).
Front edge, long screws
Rear edge, short screws
Tightening torque: 70 Nm.
Longitudinal member-engine, two screws with new lock nuts. Tighten the rear nut first, then the front.
Tightening torque: 50 Nm.
- Heat deflector plate bracket, two screws.
Tightening torque: 50 Nm.
- Heat deflector plate, three screws.
Installing oil pipes
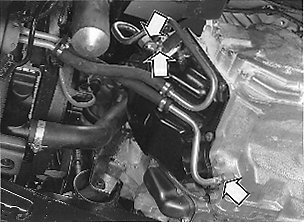
Install lower pipe. Use a new O-ring.
Install the upper pipe (return line) with its mounting in the control system cover.
Install connector loosely. The pipe cap nut is tightened later.
Tightening stub axle/installing ABS and brake lines
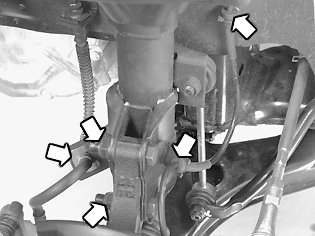
Install:
- New lock nuts stub axle-spring strut.
Tightening torque: 90 Nm.
- ABS line on wheel arch and spring strut
- Brake hose with mounting clip on spring strut.
Installing splash guards and wheels
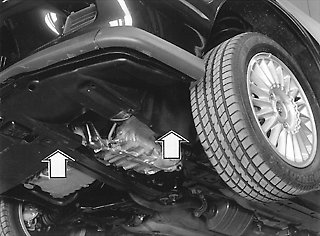
Install:
- Splash guard in the left wheel arch
- Splash guards under the transmission/engine
- Wheels.
See Installing wheels, AW50-42 Installing Wheels.
- Hub cap.
Installing, continued
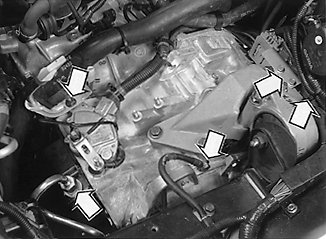
Lower the car.
Tighten return oil pipe cap nut on control system cover.
Install:
- Oil dipstick pipe with new O-ring.
Tightening torque : 25 Nm
- Bracket with transmission connectors. Connect all connectors. Secure wiring from control system in bracket.
- Ground lead to transmission.
Installing gear selector cable
Adjust the gear selector cable and install to transmission. See Adjusting the transmission cable Adjusting The Transmission Cable.
Installing other components
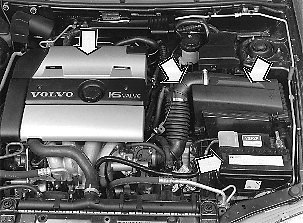
Install:
- Battery shelf
- Fresh air hose and connectors
- Preheating hose
- Air cleaner (ACL) housing assembly
- Engine cover
- Battery.