For Vehicles With Sips:
For vehicles with SIPS:
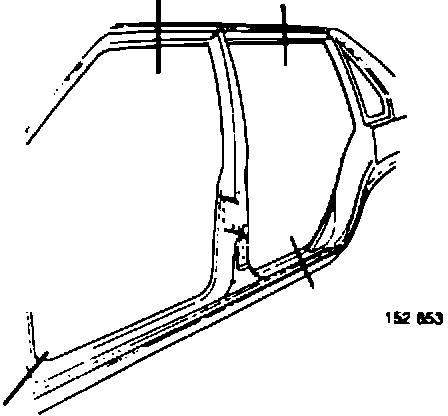
Cut replacement section:
Before fixing replacement section to car, dimensions must be correct. Suggested cutting points for replacement section (body side section) are shown in the illustration.
- align replacement section with damaged section
- align with holes for hinge mounting on side of cowl
- fix replacement section in position with welding clamps
- use a hacksaw to cut through body on rear of door sill, side of cowl and roof sill
- lift off replacement section
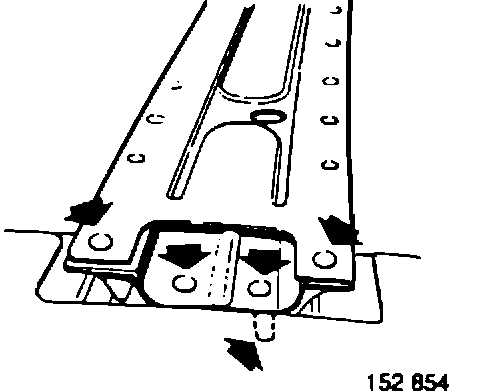
Remove damaged section
- grind or drill out spot welds
- cut away damaged section with chisel hammer
- grind all contact surfaces clean and apply welding primer to both body and replacement sections
- remove roof arch by drilling out spot weld on roof sill
WARNING:
The use of protective equipment such as eye protectors and a breathing mask should be used when grinding.
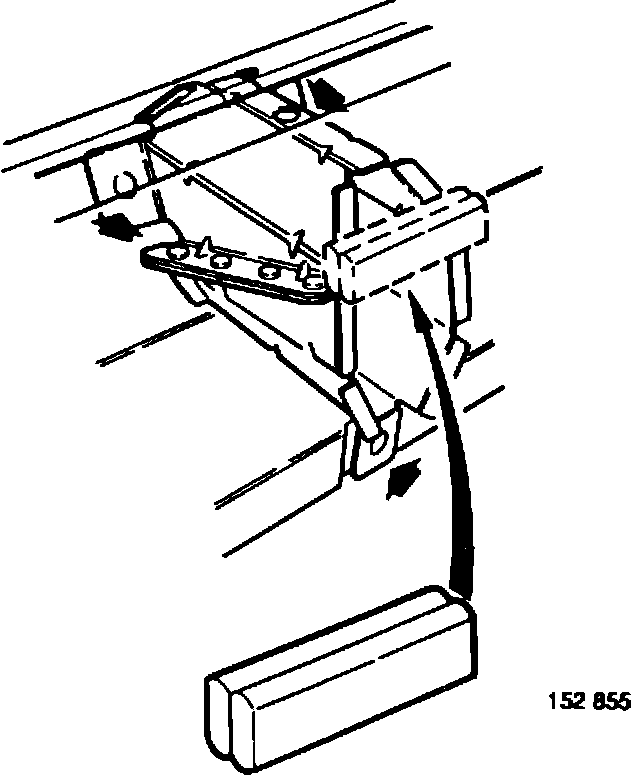
Install in door sill (not yet welded onto car):
Prepare for installation of reinforcement in door sill by cleaning or grinding away paint on areas to be spot welded.
- position reinforcement in stamped section on outer door sill
- apply welding primer
- install reinforcement
- weld in position
To prevent noise and vibration:
- apply two strips 1-1/2" (40 mm) of butyl tape to reinforcement
The butyl tape must be sufficient for it to cover the inner side of the door sill.
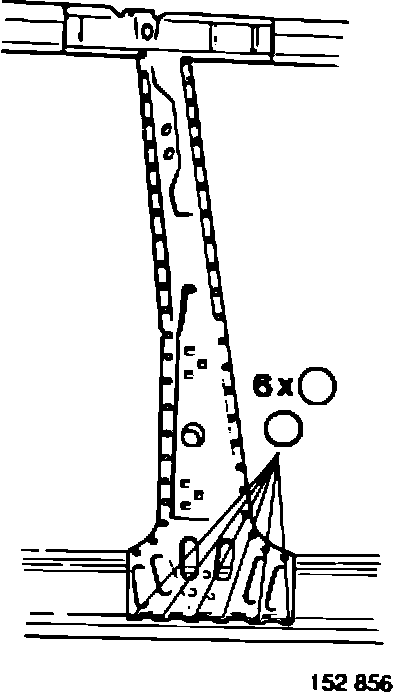
Preparation of body side section before installation of B-pillar complete:
Clean or grind away all paint on contact surfaces which are to be welded.
- apply welding primer
- install drip moulding by spot welding
- position B-pillar inside body side section
- adjust B-pillar and fix it in place in body sidesection
- weld B-pillar in body side section (see illustration)
- transfer lock plate from discarded section
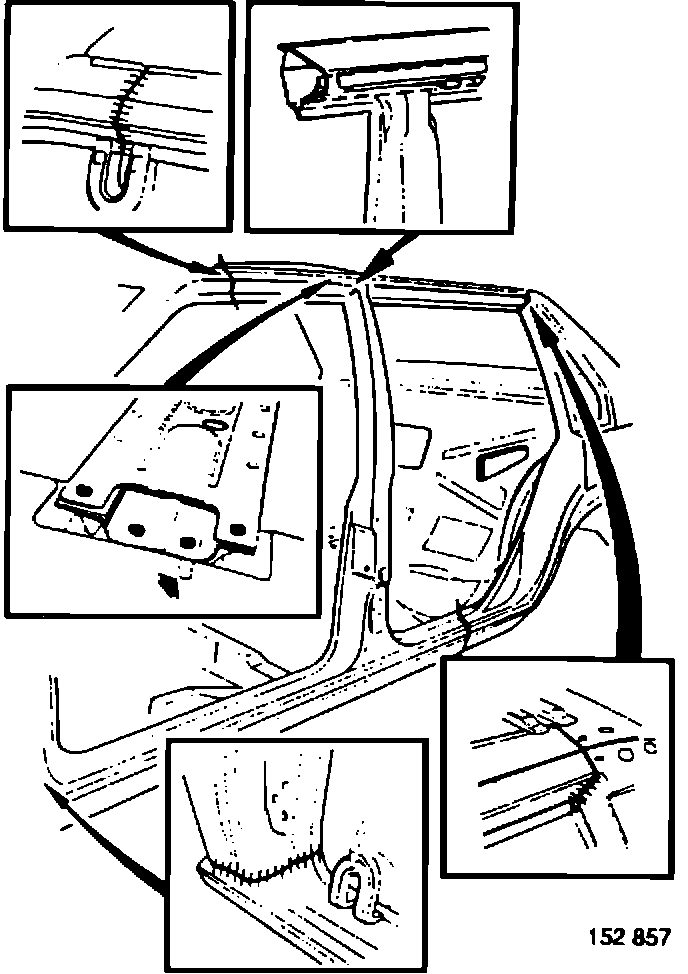
Install complete body side-section:
- Secure in position complete body side-section with reinforced B-pillar and reinforcement in door sill.
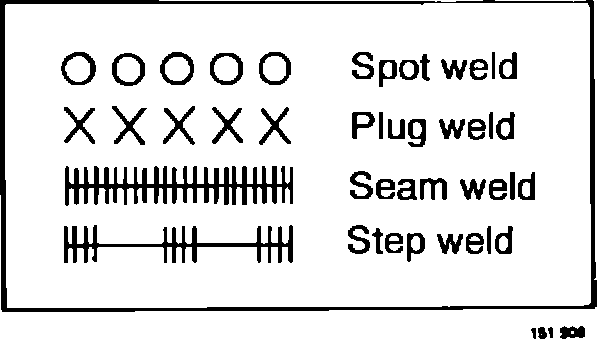
- Seam-weld joint on cowl side, door sill and roof sill. For other welds use spot welding.
- Grind smooth welds on roof sill
Install roof arch:
- adjust roof arch to proper fit
- apply welding primer
- spot-weld roof arch into position
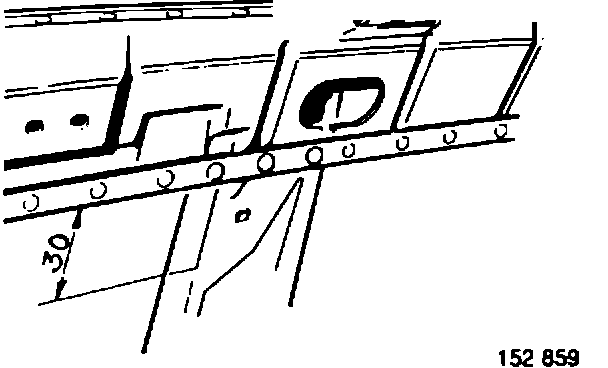
For all models:
When joining inner B-pillar, it is important not to site the position further down than 1-3/16" (30 mm) from the flange edge. Otherwise the procedure is unchanged.