Windshield - Removing/ Installing
83volvo02SECTION GROUP NO.
84 2
DATE March, 1983
RE:
Windshield Removing/ Installing
760 GLE
THIS SERVICE BULLETIN APPLIES TO THE U.S. AND CANADIAN MARKETS.
Removing/installing windshield
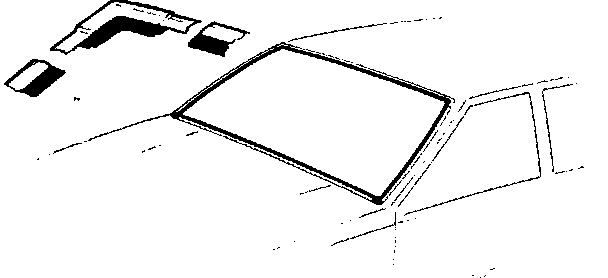
REMOVING
Remove:
- wiper arms
- rubber grommets
- cowl top panel
Remove trim mouldings and clips.
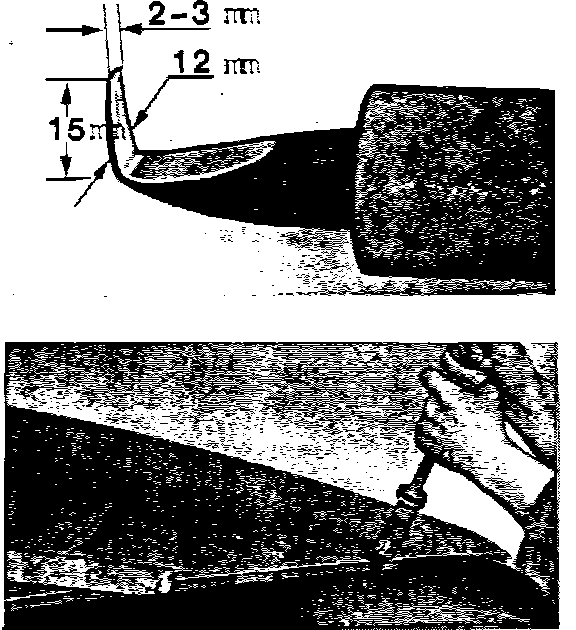
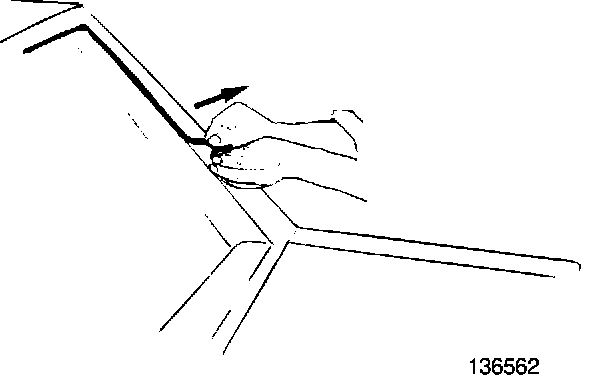
CUT OUT UPPER EDGE AND SIDES OF WINDSHIELD FROM OUTSIDE.
Use a hot knife, cold knife or soldering iron shaped as illustrated to free windshield from surround.
It is easier to remove the butyl tape if the tip of the removal tool is held close to the glass.
*Important!! Do not pry the windshield out, as it may crack.
After cutting approximately 300 mm (12") place a piece of wood between the windshield and one of the T-shaped support clips to prevent it from sliding back on to the tape.
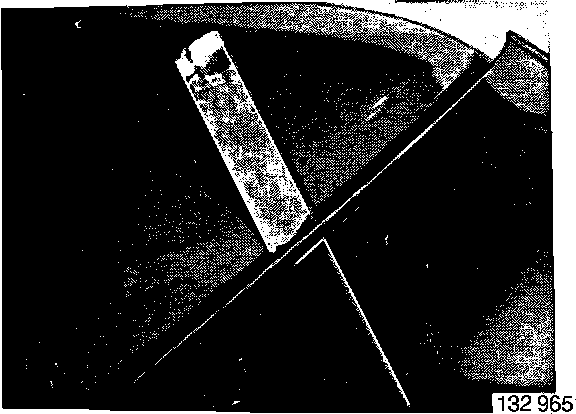
THE FOLLOWING OPERATION REQUIRES TWO PEOPLE:
Press out the top of the windshield by approx. 50 mm (2"), and place a piece of wood between the windshield and body.
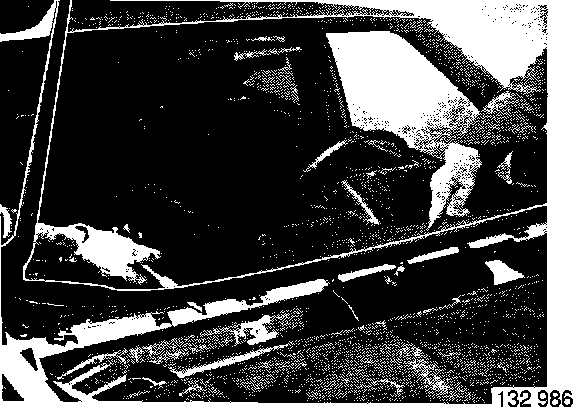
Press out the glass further. Lift it up slightly and cut away the butyl tape from the lower edge.
Clean off the tape from the windshield frame and windshield.
The method above can be used with modifications to remove rear windows.
INSTALLING
Clean the windshield frame and edges with solvent.
Before attaching butyl tape, apply primer to:
- windshield frame
- edge of windshield (approx. 20 mm (3/4") wide) .
Allow at least 2 minutes to dry. *Note: The primer should not be jelly-like as this reduces its effectiveness.
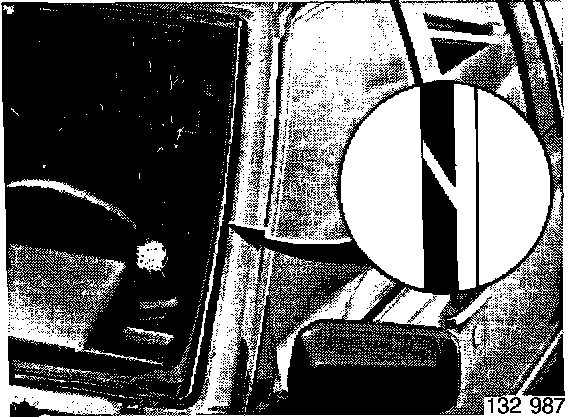
ATTACH BUTYL TAPE
Method 1 Roll out the tape along the inner edge of the glass. Ensure that the joint (cut diagonally) is located at one of the side pillars. Remove the backing paper from the tape.
Method 2 Roll out the tape and at the same time lift off the backing paper.
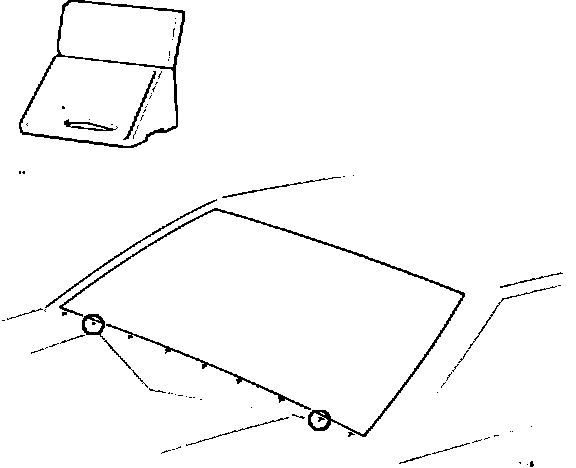
POSITION CLIPS
Windshield: Remove the second to last T-shaped clip from each side of the frame, see illustration and install support clips P/N 1325040-2.
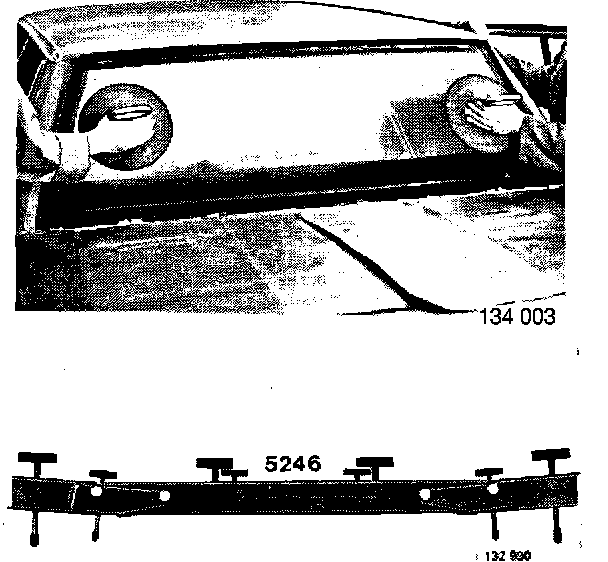
LIFT GLASS INTO POSITION (TWO PEOPLE REQUIRED WITH SUCTION PADS)
Centralize the glass and make sure that the bottom edge rests on the support clips.
This method can be used for the front and rear glasses.
Set up fixture 5246.
Locate the screws as illustrated.
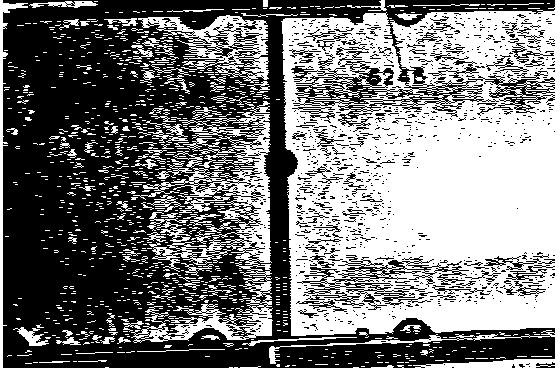
Adjust height setting to the lowest position.
The four outer adjustable pads on each side should be set so that they do not press against the glass.
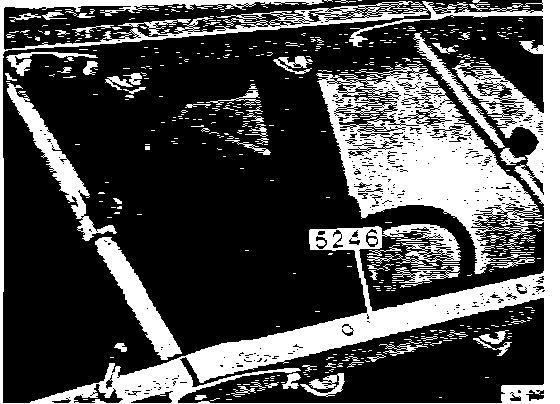
ALIGN FIXTURE
Ensure fixture is centralized. The four center (non-adjustable) pads should just touch glass.
Tool 9995245 and 9995247 are not available separately; they are supplied with 9995246.
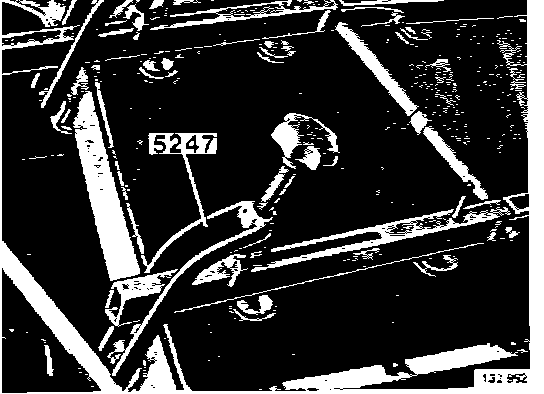
Secure fixture with clamps 5247.
Ensure clamp mounting brackets are securely attached to windshield pillar.
Check that the four center pads do not press against the glass, but just touch it.
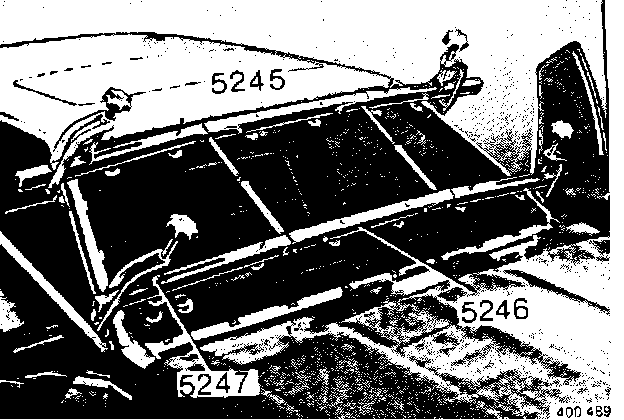
ADJUST PADS
The four outer pads on each side should be angled towards and just touching the glass. The two outer pads on each side should be placed near the clamps but not so near that they move when the glass is pressed into position.
The four outer pads on each side are adjustable.
The four center pads are not adjustable.
PRESS GLASS INTO POSITION
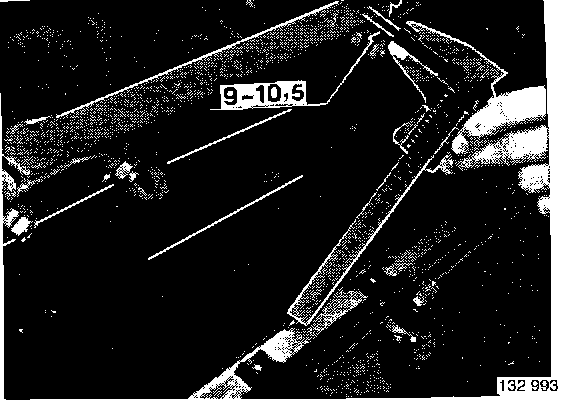
Exercise extreme care when pressing the glass into position. Turn each of the clamp screws one turn. Next unscrew the clamps, first on one side and then the other, a 1/4 turn. Wait about 30 seconds before tightening the screws again.
Turn the screws by less than a 1/4 of a turn when close to the installation measurement.
The outside of the glass should be 9.0 - 10.5mm (0.35" - 0.59") from the frame.
REMOVE FIXTURE
Break off outer part of glass support clips.
Install:
- clips
- trim mouldings
- cowl top panel
- rubber grommets
- wiper arms