CU Heater Core Removal and Installation
Preparations: Remove CU Climate Control Unit. See Air Flow Control Box - A/C.
Dismantling Heater Housing
L1
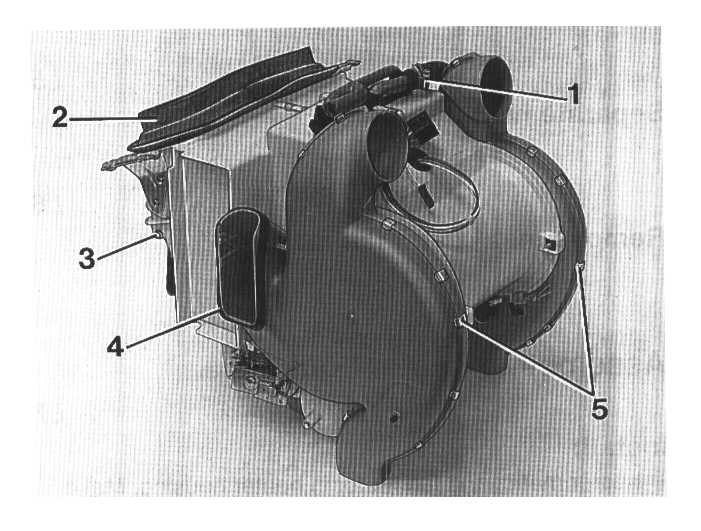
Remove:
- upper heater matrix hose (1).
- rubber air intake seal (2).
- clips for REC vent, LH side (3).
- rubber seals from both defroster vents (4).
- all clips from both outer fan covers (5). Remove covers.
L2
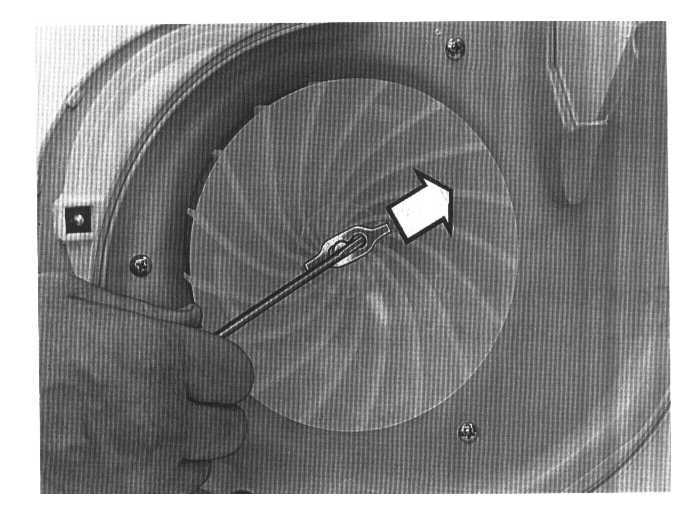
Remove fan rotor locking clips, both sides.
L3
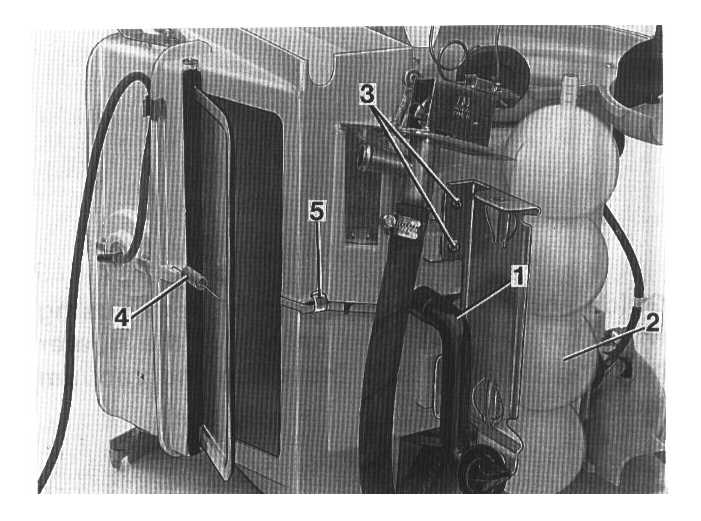
Remove:
- cell system drain hose (1).
- vacuum tank (2).
- mounting bolts from vacuum tank bracket on LH side (3).
- spring from REC vent (4).
- all clips from heater housing (5).
L4
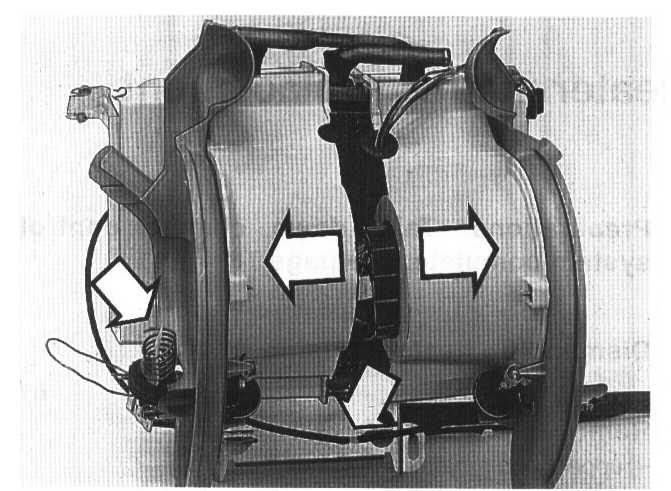
Remove:
- the screws holding the fan motor in place.
- the heat control valve sensor head from its seat.
- vacuum motor rubber hose by T-joint.
L5
Separate heater housing
L6
Remove matrix and fan motor.
Assembling Heater Housing
L7
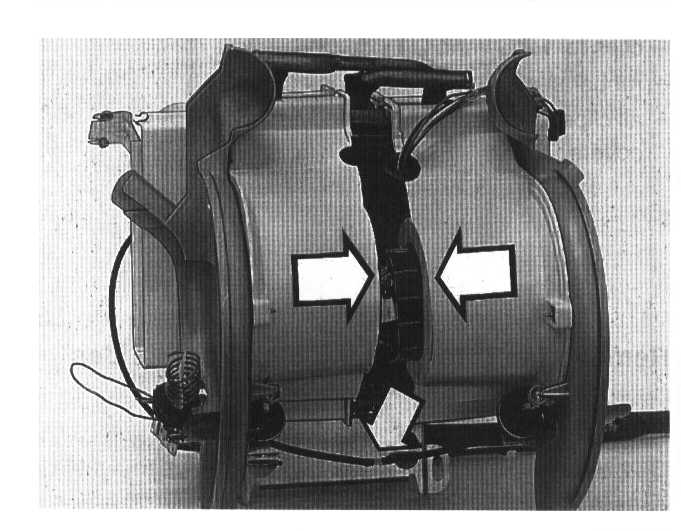
Install:
- heater matrix and fan motor in heater housing. Make sure plastic fan motor catch fits into place.
- vacuum motor rubber hose to T-joint.
L8
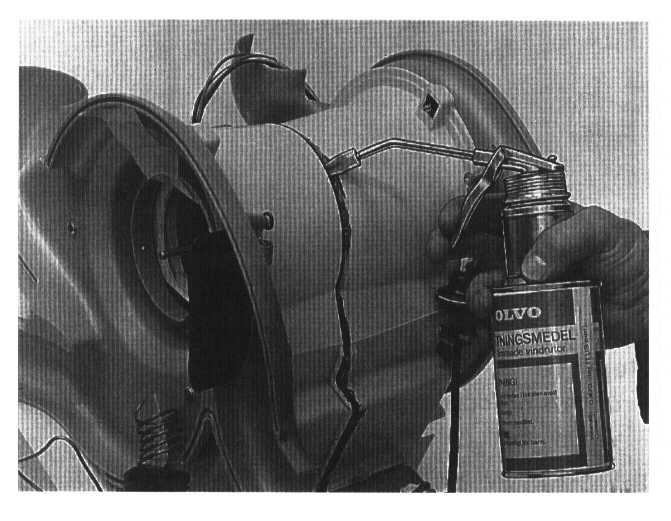
Coat undersides of both halves of heater housing with sealing agent.
L9
Guide shaft to REC vent into heater housing while bringing the two halves of the heater housing together and installing the vacuum motor.
L1O
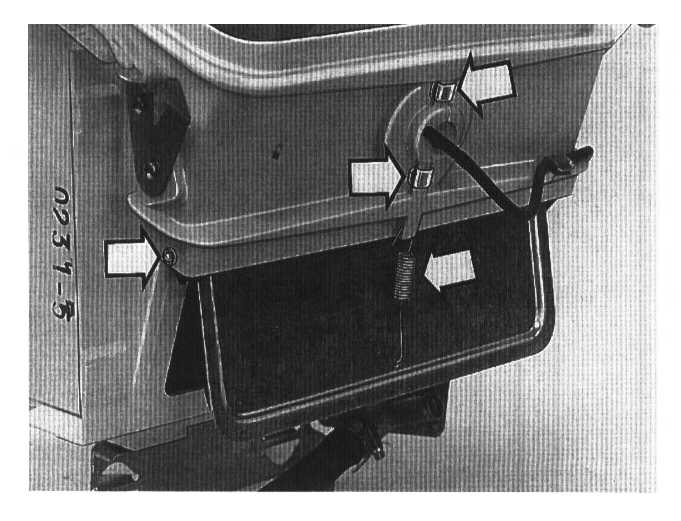
Install:
- circlip on REC vent.
- return spring.
- all heater housing clips.
- vacuum hose to REC vent motor.
L11
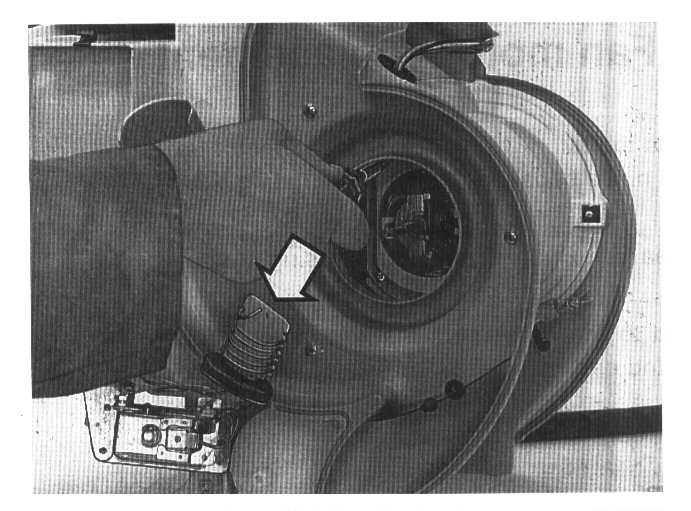
Tighten tan motor screws in heater housing.
L12
Install heat control valve sensor head in its seat.
L13
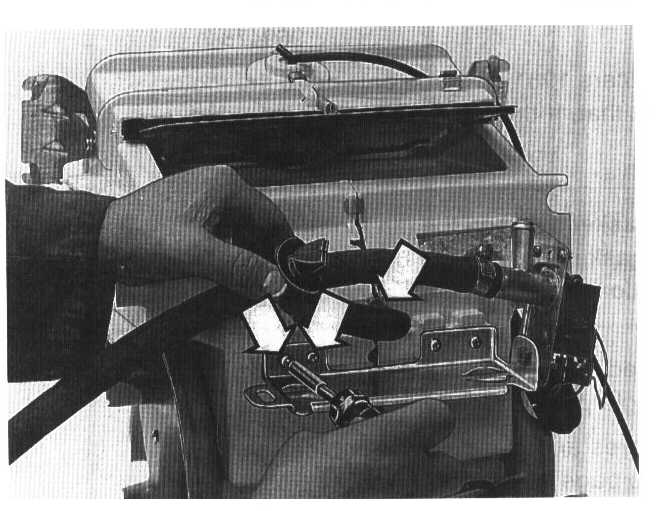
Install:
- mounting bolts for vacuum tank bracket and vacuum tank.
- cell system drain hose. Check that drain hose is not blocked with dirt.
L14
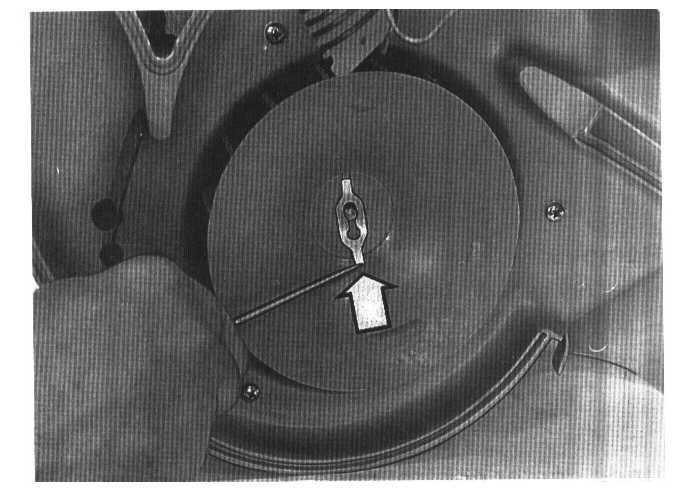
Install both fan rotors and lock in place with clips:
Install new clips if the old ones are bent or worn.
L15
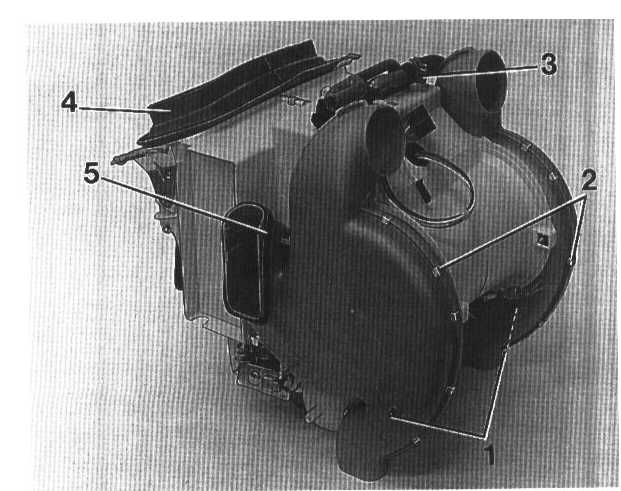
Install outer fan covers:
Check that vent shafts (1) fit into fan covers correctly first.
L16
Now install components in following order:
- all fan cover locking clips (2).
- upper water hose to honeycomb (3).
- rubber air intake seal (4).
- rubber seals on defroster hose outlet, both sides (5).
Install CU Climate Control Unit. See Air Flow Control Box - A/C.