Steering Gear Boot Replacement
REMOVALCAUTION: MAKE SURE VEHICLE IS PROPERLY SUPPORTED AND SQUARELY POSITIONED ON HOIST. TO HELP AVOID PERSONAL INJURY, PROVIDE ADDITIONAL SUPPORT TO THE OPPOSITE END OF THE VEHICLE THAT COMPONENTS WILL BE REMOVED FROM.
1. Raise vehicle on hoist.
2. Remove wheel and tire.
IMPORTANT: Removal of splash shield makes access easier.
3. Remove outer tie rod end as previously described.
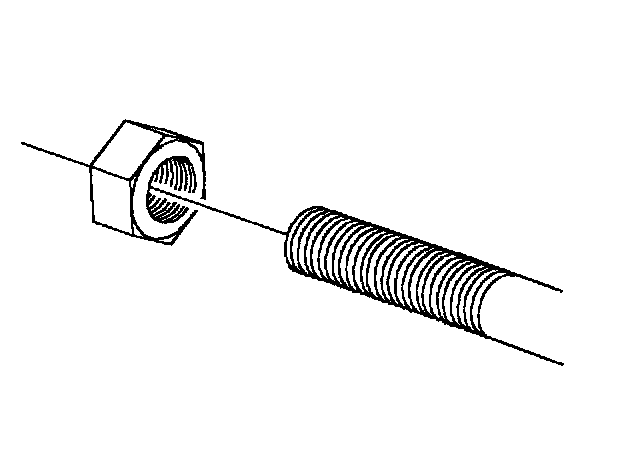
4. Remove inner tie rod-to-outer tie rod lock nut from inner tie rod.
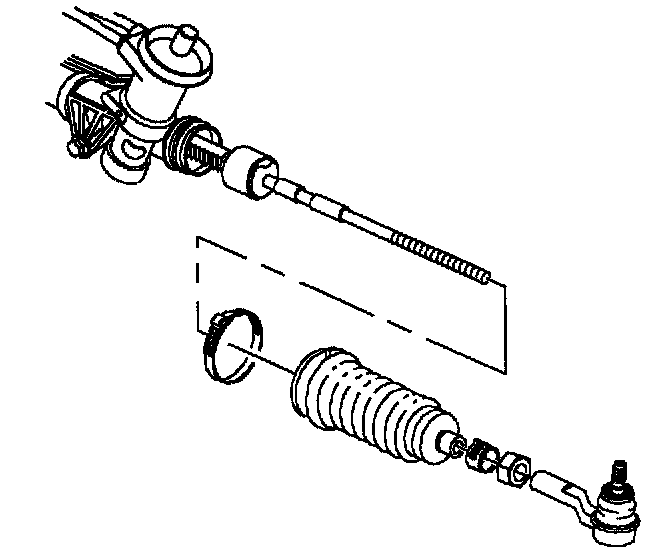
5. Remove boot clamp (tie rod end).
6. Remove boot clamp (steering gear housing end) with cutters and discard.
7. Remove steering gear boot from steering gear.
INSTALLATION
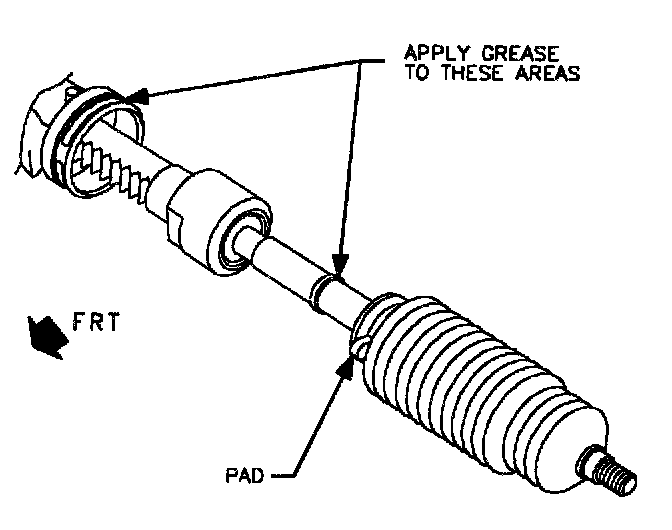
1. Install new boot clamp onto steering gear boot (steering gear housing end).
2. Apply grease in service kit to locations shown in illustration prior to boot installation. This grease provides a water barrier and must be used to protect internal gear components from corrosion.
NOTICE: The boot has a small pad near the clamp location on the housing end. The boot should be turned so that the pad is toward the front of the vehicle.
NOTICE: Boot must not be twisted or puckered.
3. Install boot onto inner tie rod assembly, then slide boot along rod assembly until the large end of the boot is seated in the steering gear housing groove.
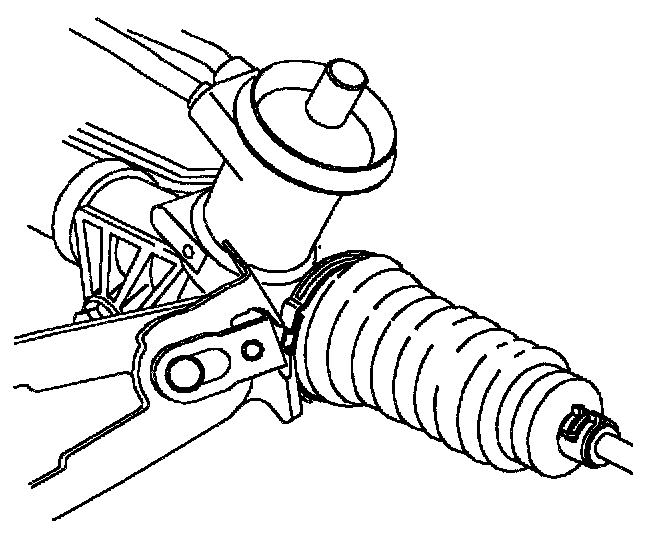
4. Crimp clamp on housing end of boot.
5. Install clamp on inner tie rod end of boot.
6. Install inner tie rod-to-outer tie rod lock nut.
7. Install outer tie rod and attach to knuckle as previously described.
NOTICE: Before installing wheels remove rust or corrosion from wheel mounting surfaces and brake rotors/drums. Failure to do so can cause wheel nuts to loosen in service.
8. Position wheel onto hub.
9. Install wheel nuts and tighten in a crisscross pattern. Repeat tightening pattern to make sure torque is correct.
Torque: 140 Nm (103 ft. lbs.)
10. Set toe. (Refer to "Wheel Alignment".)