Engine Mounting
WM 103519 Removing and installing engine mounting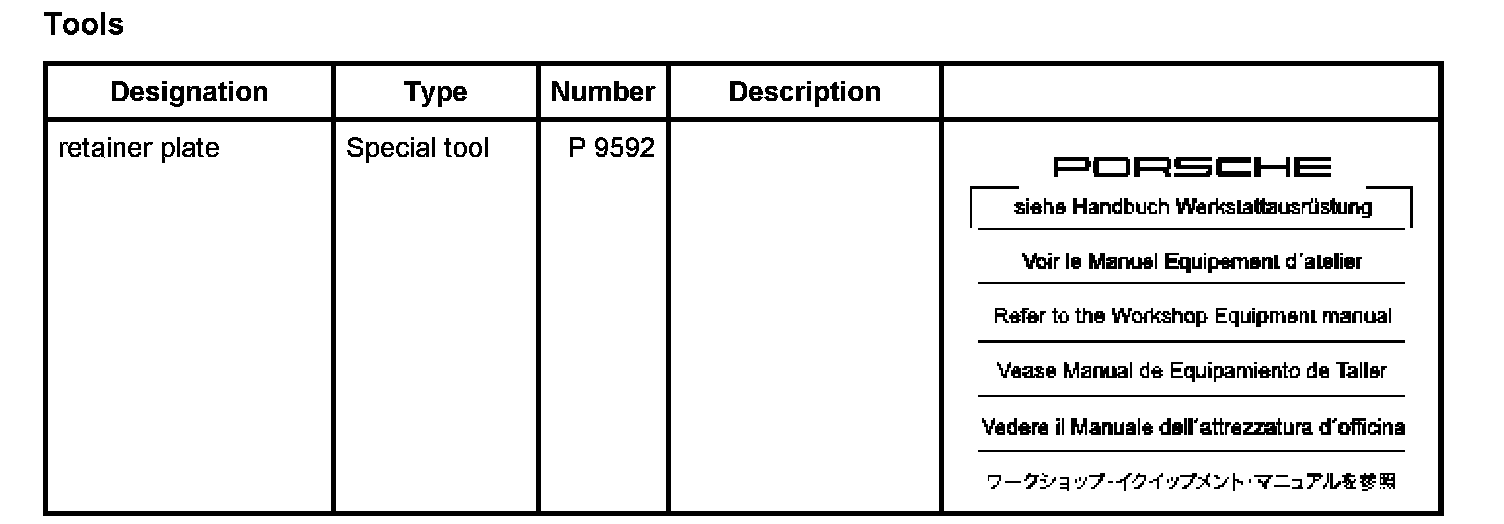
Removing engine mounting
Removing engine mounting
1. Remove air cleaner housing.
2. Support engine in installation position with a jack. To do this, attach special tool retainer plate P 9592 to the engine.
3. Loosen and unscrew M12 collar nut on engine carrier -arrow-.
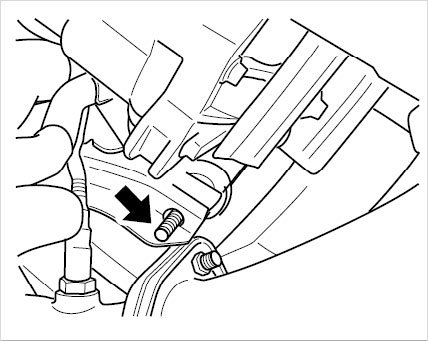
Collar nut for engine mounting
4. Unscrew two hexagon-head bolts (M8 x 40) on the engine mounting.
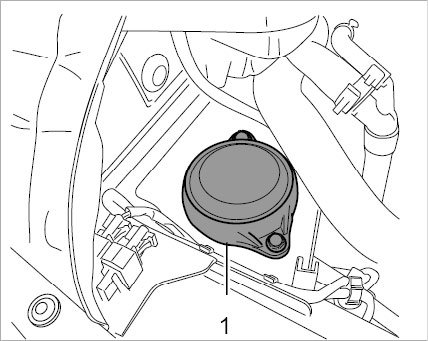
-1- Left engine mounting
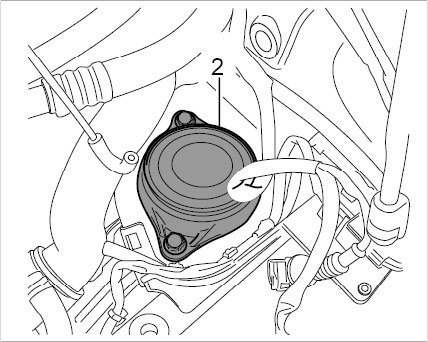
-2- Right engine mounting
5. Guide engine mounting -1- upwards out of the engine carrier.
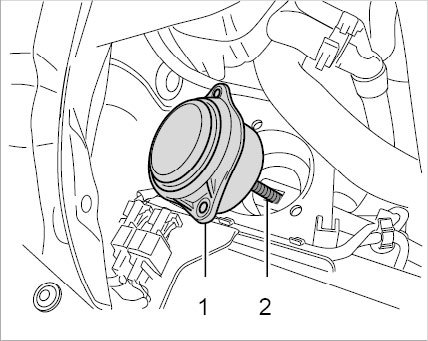
Engine mounting in vehicle
6. Check mounting carefully for signs of damage (dents, cracks on metal body, threaded bolts) or leaks (emerging hydraulic fluid). Replace component if in doubt.
Installing engine mounting
Installing engine mounting
1. Insert engine mounting -1- into body and engine carrier by guiding the threaded bolt for the engine mounting -2- into the bushing-type eyelet on the engine carrier.
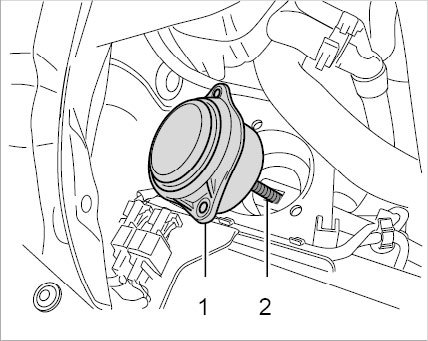
Engine mounting in vehicle
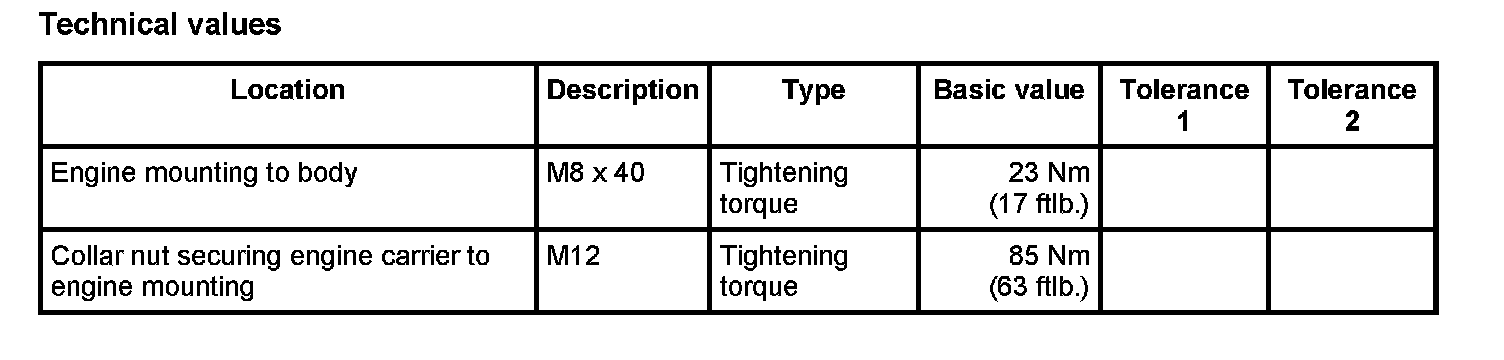
2. Screw in and tighten two M8 x 40 hexagon-head bolts. - Tightening torque: 23 Nm (117 ftlb.)
3. Place collar nut on the threaded bolt for the engine mounting and tighten it -arrow-. - Tightening torque: 85 Nm (63 ftlb.)
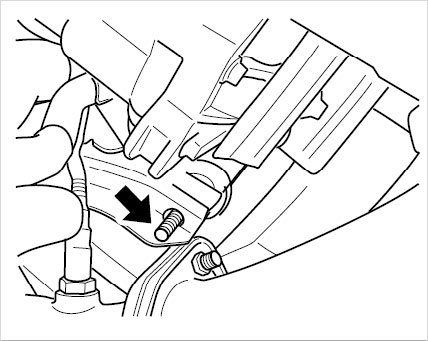
Collar nut for engine mounting
4. Lower workshop jack and move out of work area. Remove special tool retainer plate P 9592.
5. Install air cleaner housing.