HVAC System - Automatic
REMOVAL PROCEDURE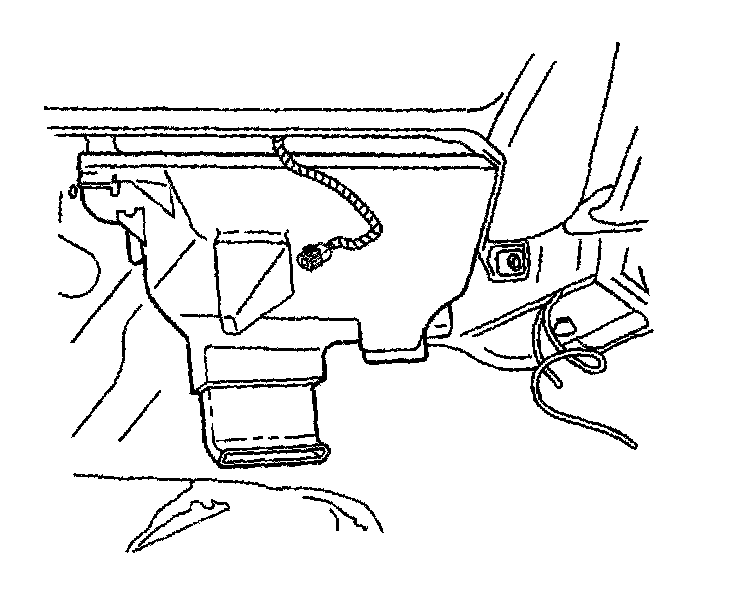
1. Remove the air cleaner and duct assembly.
2. Recover the refrigerant. Service and Repair
3. Drain the cooling system. Refer to Draining and Filling Cooling System in Engine Cooling.
4. Remove the cross vehicle beam.
5. Disconnect the A/C lines at the evaporator block fitting.
6. Disconnect the heater hoses at the heater core.
7. Disconnect the vacuum hoses.
8. Disconnect the electrical connectors.
IMPORTANT: Position the heater core outlet cover downward and rearward in order to disconnect the cover from the rear area floor duct assembly.
9. Remove the heater core outlet cover screws.
10. Remove the heater core outlet cover.
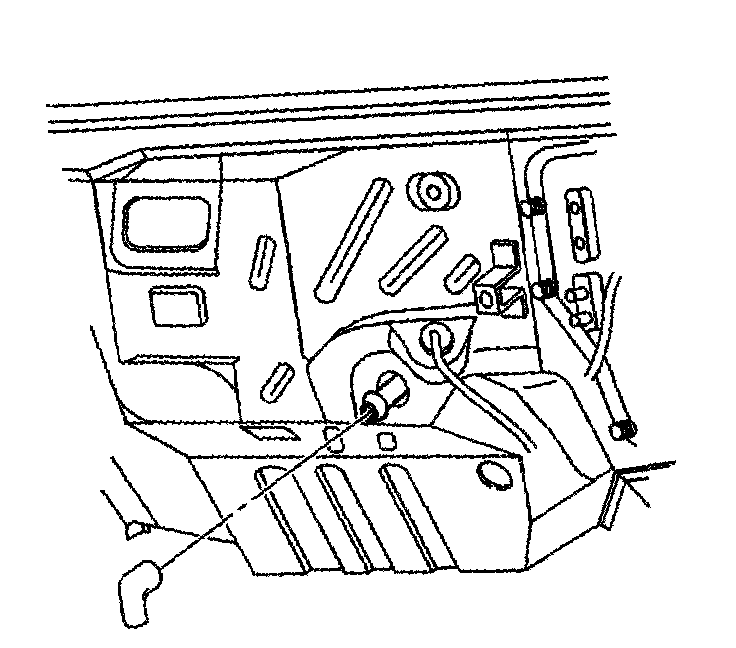
11. Remove the evaporator drain elbow.
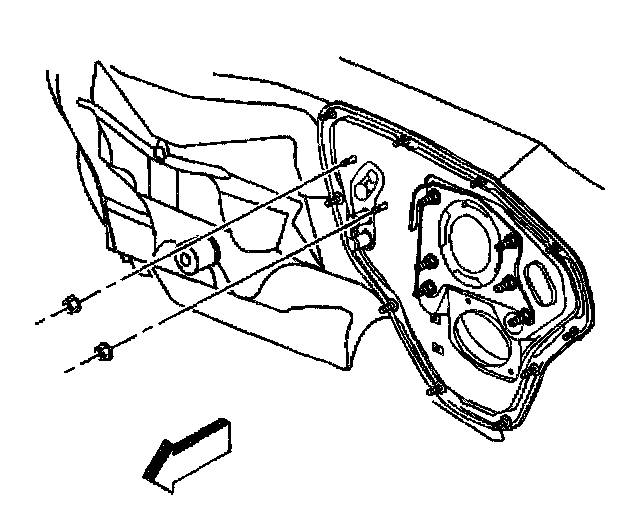
12. Remove the HVAC module to dash nuts.
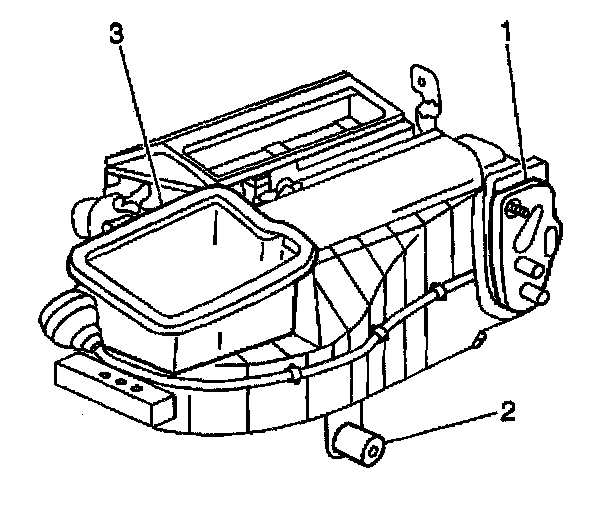
13. Remove the HVAC module.
14. Remove all of the outer HVAC module seals (1,2,3).
INSTALLATION PROCEDURE
1. Install new outer HVAC module seals (1,2,3).
2. Install the HVAC module to the vehicle.
NOTE: Refer to Fastener Notice in Cautions and Notices.
3. Install the HVAC module to dash nuts.
Tighten
Tighten the HVAC module nuts to 10 Nm (89 lb in).
4. Install the evaporator drain elbow.
5. Connect the electrical connectors.
6. Connect the vacuum hoses.
7. Install the heater core outlet cover.
8. Install the heater core outlet cover screws.
Tighten
Tighten the heater core outlet cover screws to 1.5 Nm (13 lb in).
9. Install the Cross vehicle beam.
10. Connect the heater hoses at the heater core.
11. Fill the cooling system. Refer to Draining and Filling Cooling System in Engine Cooling.
12. Install the A/C lines at the evaporator block fitting.
13. Recharge the A/C system. Refer to Refrigerant Recovery and Recharging.
14. Leak test the A/C system. Refer to Leak Testing. Testing and Inspection
15. Install the air cleaner and duct assembly.