Main Cap Bolt Hole Thread Repair
Main Cap Bolt Hole Thread Repair^ Tools Required
- J 42385-600 Cylinder Head/Main Bearing Bolt Kit
- J 423B5-300 Fixtures and Hardware Kit
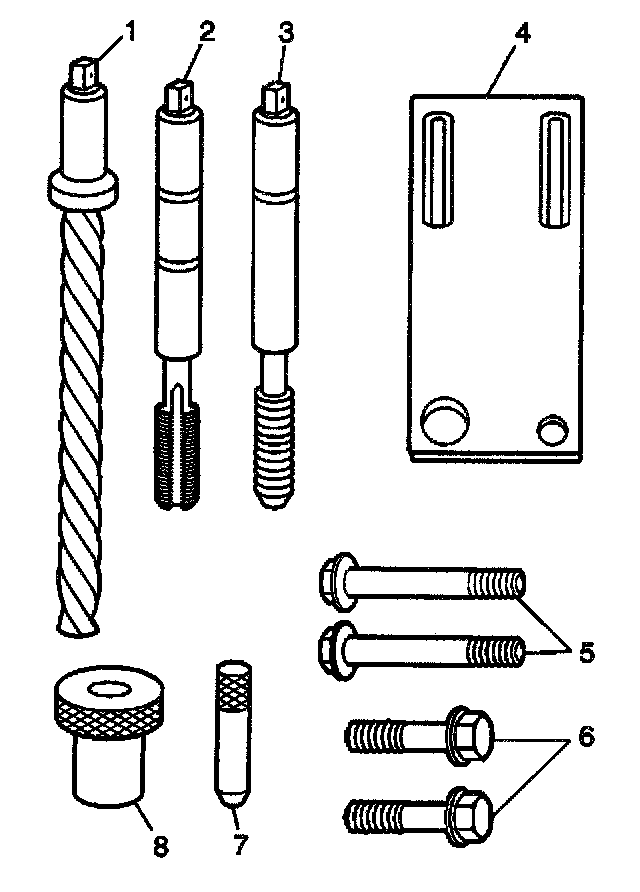
1. The main cap bolt hole thread repair kit J 42385-600 and J 42385-300 consists of the following items:
^ Drill (1)
^ Tap (2)
^ Installer (3)
^ Fixture plate (4)
^ Long bolts (5)
^ Short bolts (6)
^ Alignment pin (7)
^ Bushing (8)
Caution: Refer to Safety Glasses Caution in Service Precautions.
Important: The use of a cutting type fluid GM P/N 1052864, WD 40~3, or equivalent is recommended when performing the drilling and tapping procedures.
Driver oil MUST be used on the installer driver tool.
The tool kits are designed for use with either a suitable tap wrench or drill motor.
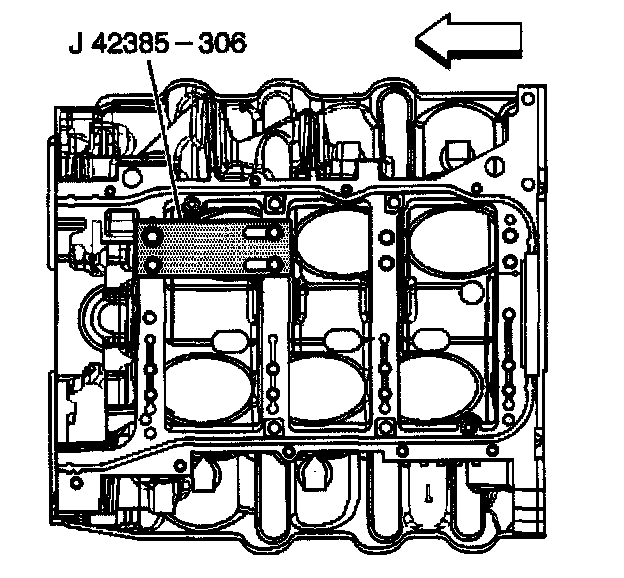
2. Install the fixture plate, bolt, and bushing, onto the engine block.
Position the fixture plate and bushing over the hole that is to be repaired.
3. Position the alignment pin in the desired hole and tighten the fixture bolts.
Important: During the reaming process, it is necessary to repeatedly remove the drill and clean the chips from the hole.
4. Drill out the damaged hole. Drill until the stop collar of the drill bit or the sleeve contacts the bushing.
5. Using compressed air, clean out any chips.
6. Using a tap wrench, tap the threads of the drilled hole.
7. Using compressed air, clean out any chips.
8. Spray cleaner GM P/N 12346139, or equivalent into the hole.
9. Using compressed air, clean any cutting oil and chips out of the hole.
Important: Do not allow oil or other foreign material to contact the outside diameter (OD) of the insert.
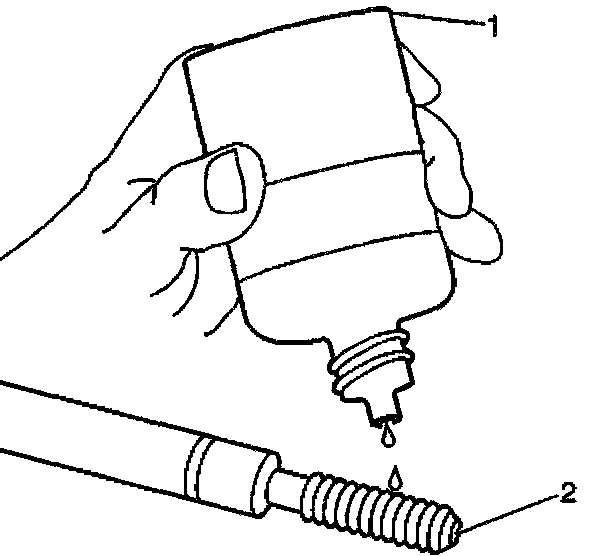
10. Lubricate the threads of the installer tool (2) with the driver oil (1).
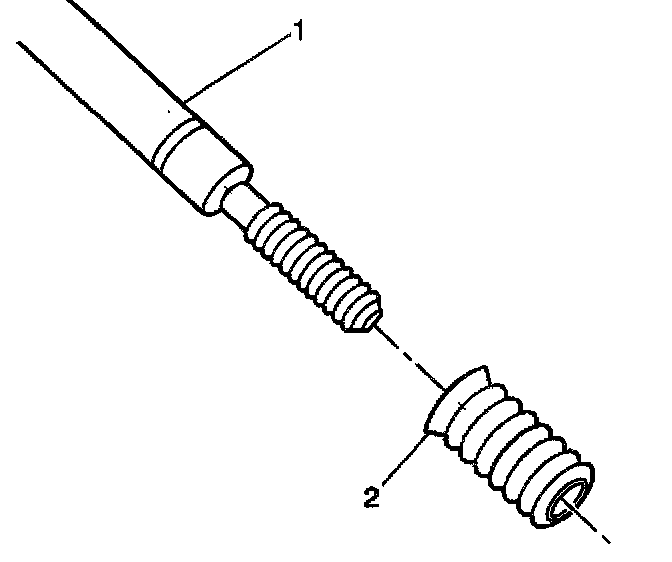
11. Install the insert (2) onto the driver tool (1).
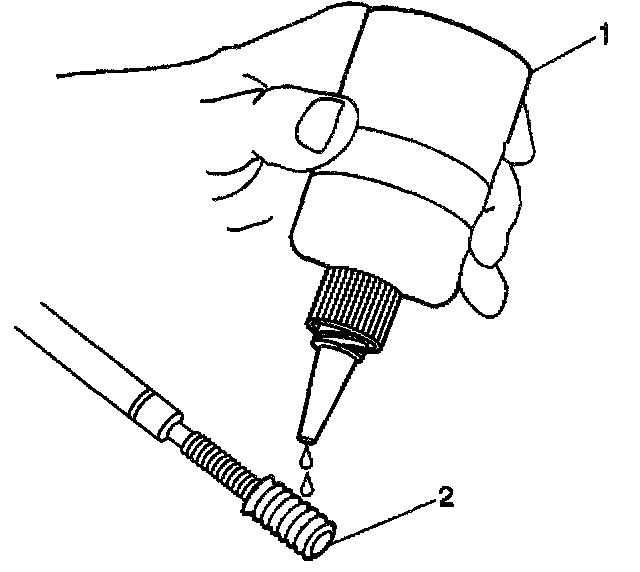
12. Apply threadlock Loctite 277, J 42385-109 (1), or equivalent to the insert OD threads (2).
Important: The fixture plate and bushing remains installed onto the engine block during the insert installation procedure.
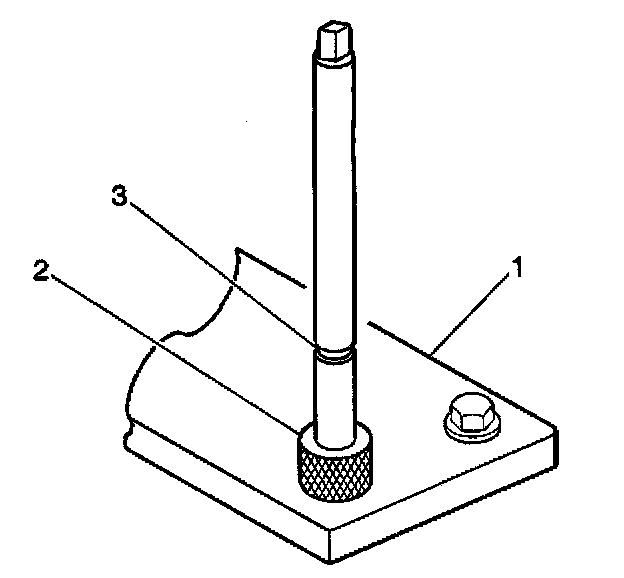
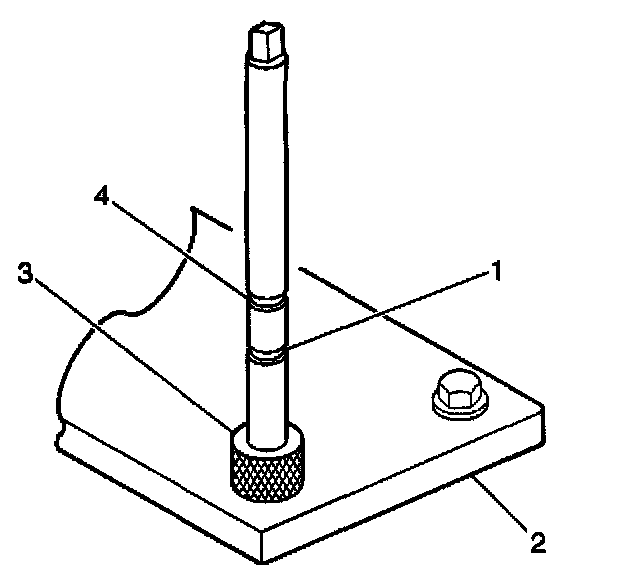
13. Install the insert and driver (1) through the fixture plate and bushing and into the hole.
Rotate the driver tool until the mark on the tool (3) aligns with the top of the bushing (2).
The installer tool will tighten up before screwing completely through the insert. This is acceptable. You are forming the bottom threads of the insert and mechanically locking the insert to the base material threads.