Removal and Replacement
FRONT DOOR GLASS AND REGULATOR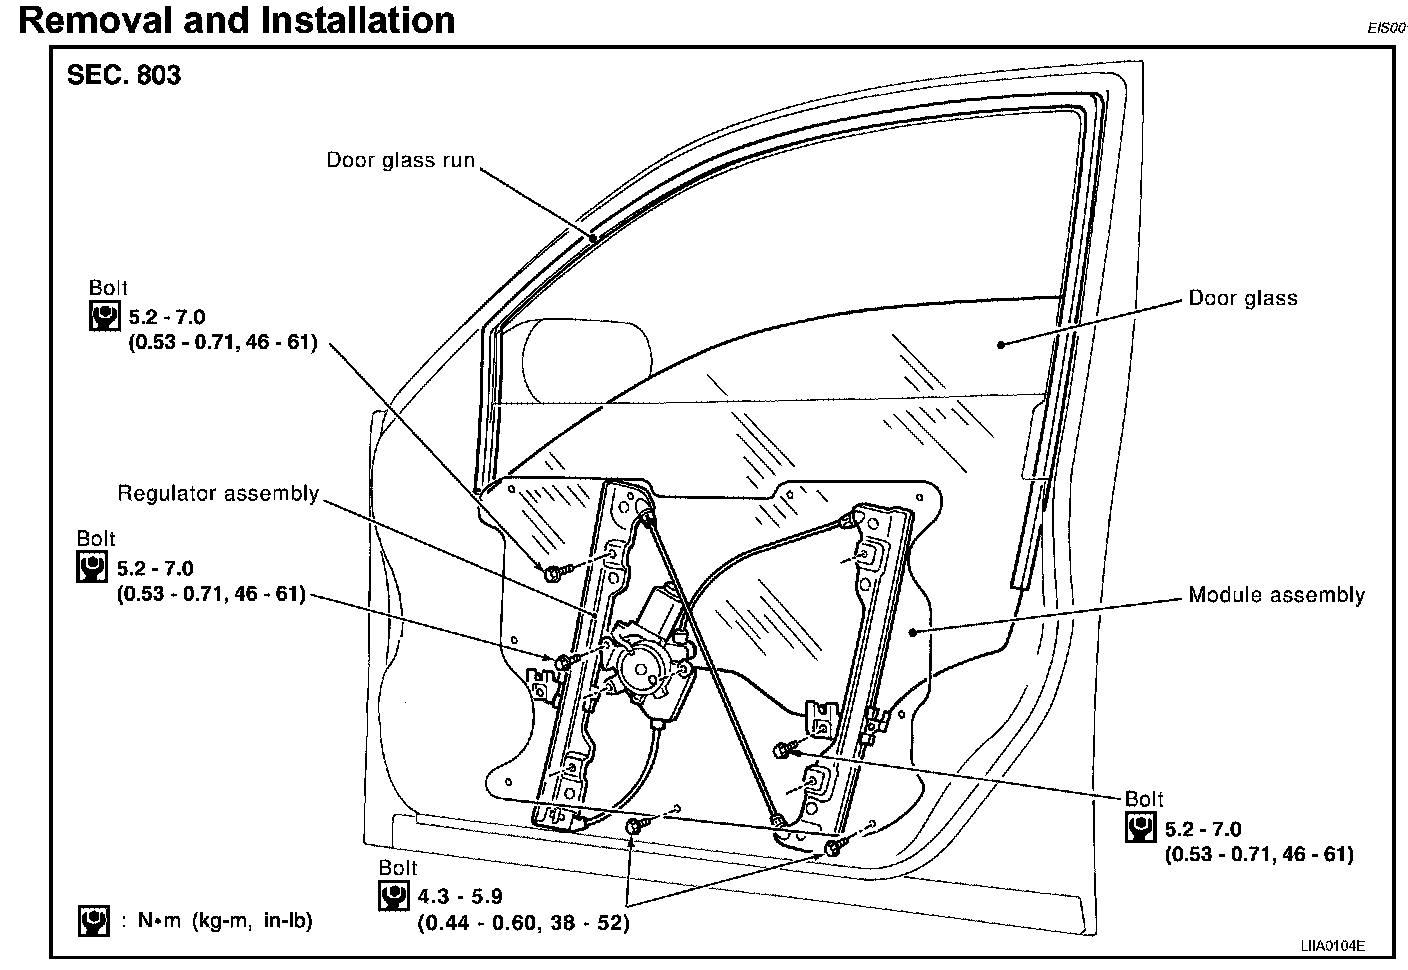
Removal and Installation
REMOVAL
1. Remove the front door finisher.
2. Remove 2 hole covers over glass mounting bolts.
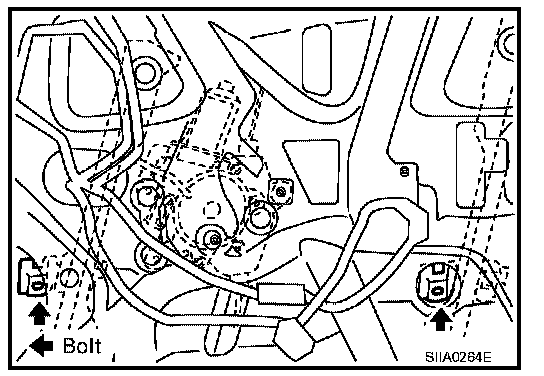
3. Operate the power window main switch to raise/lower the door window until the glass mounting bolts can be seen.
4. Remove the glass mounting bolts.
5. Remove the inside seal.
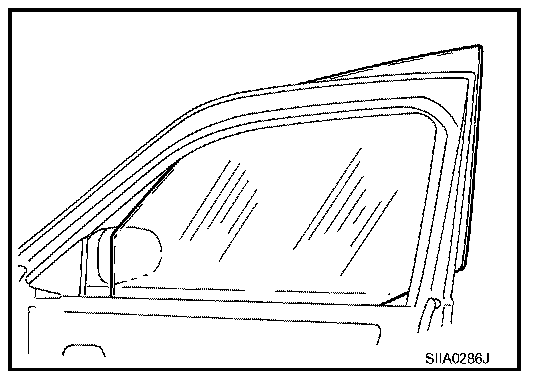
6. While holding the door window, raise it at the rear end to pull the glass out of the sash toward the outside of the door.
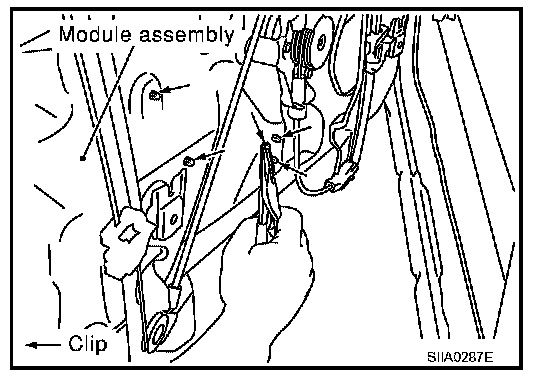
7. Remove the mounting bolts, and remove the module assembly.
8. Disconnect the harness connector for the module assembly, and unclip the harness from the back.
INSTALLATION
1. Install the harness and connect the harness connector to the module assembly.
2. Install the module assembly.
3. Install the glass from outside to insure that it is in both the front and rear glass channels. Tighten glass mounting bolts to the specified torque.
Glass mounting bolts : 5.2 - 7.0 Nm (0.53 - 0.71 kg-m, 46 - 61 in-lb)
4. Install door finisher.
SETTING AFTER INSTALLATION
Setting of Limit Switch
If any of the following work has been done, set the limit switch (integrated in the motor).
- Removal and installation of the regulator.
- Removal and installation of the motor from the regulator.
- Removal and installation of the glass.
- Removal and installation of the glass run.
Resetting
After installing each component to the vehicle, perform the following procedure to reset the limit switch.
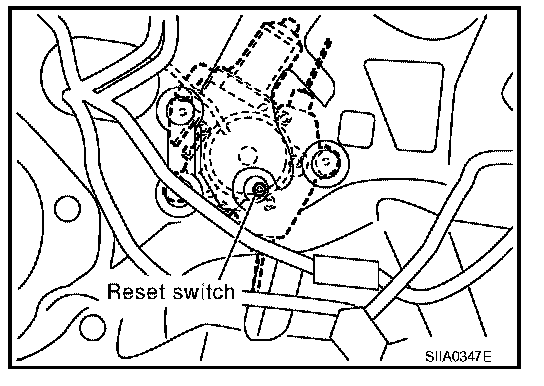
1. Raise the glass to the top dead center position.
2. While pressing and holding the reset switch, lower the glass to the bottom dead center position.
3. Release the reset switch. Verify that the reset switch returns to the original position, and then raises the glass to the top dead center position.
CAUTION: Do not operate the glass automatically to raise the glass to the top dead center position.