Lower Intake Manifold
Lower Intake Manifold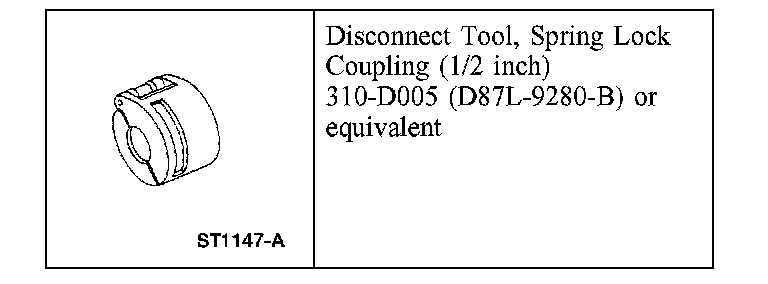
Special Tools
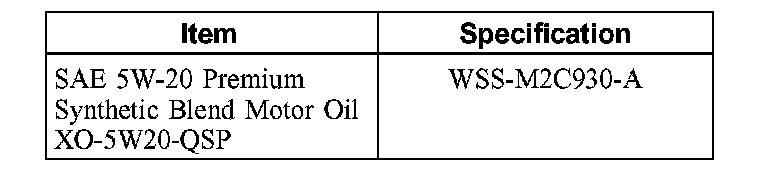
Material
Removal
WARNING: Do not smoke or carry lighted tobacco or open flame of any type when working on or near any fuel related component. Highly flammable mixtures are always present and may be ignited, resulting in possible personal injury.
WARNING: Fuel in the fuel system remains under high pressure even when the engine is not running. Before repairing or disconnecting any of the fuel system components, the fuel system pressure must be relieved to prevent accidental spraying of fuel, causing personal injury or a fire hazard.
1. Release the fuel system pressure.
2. Disconnect the battery ground cable.
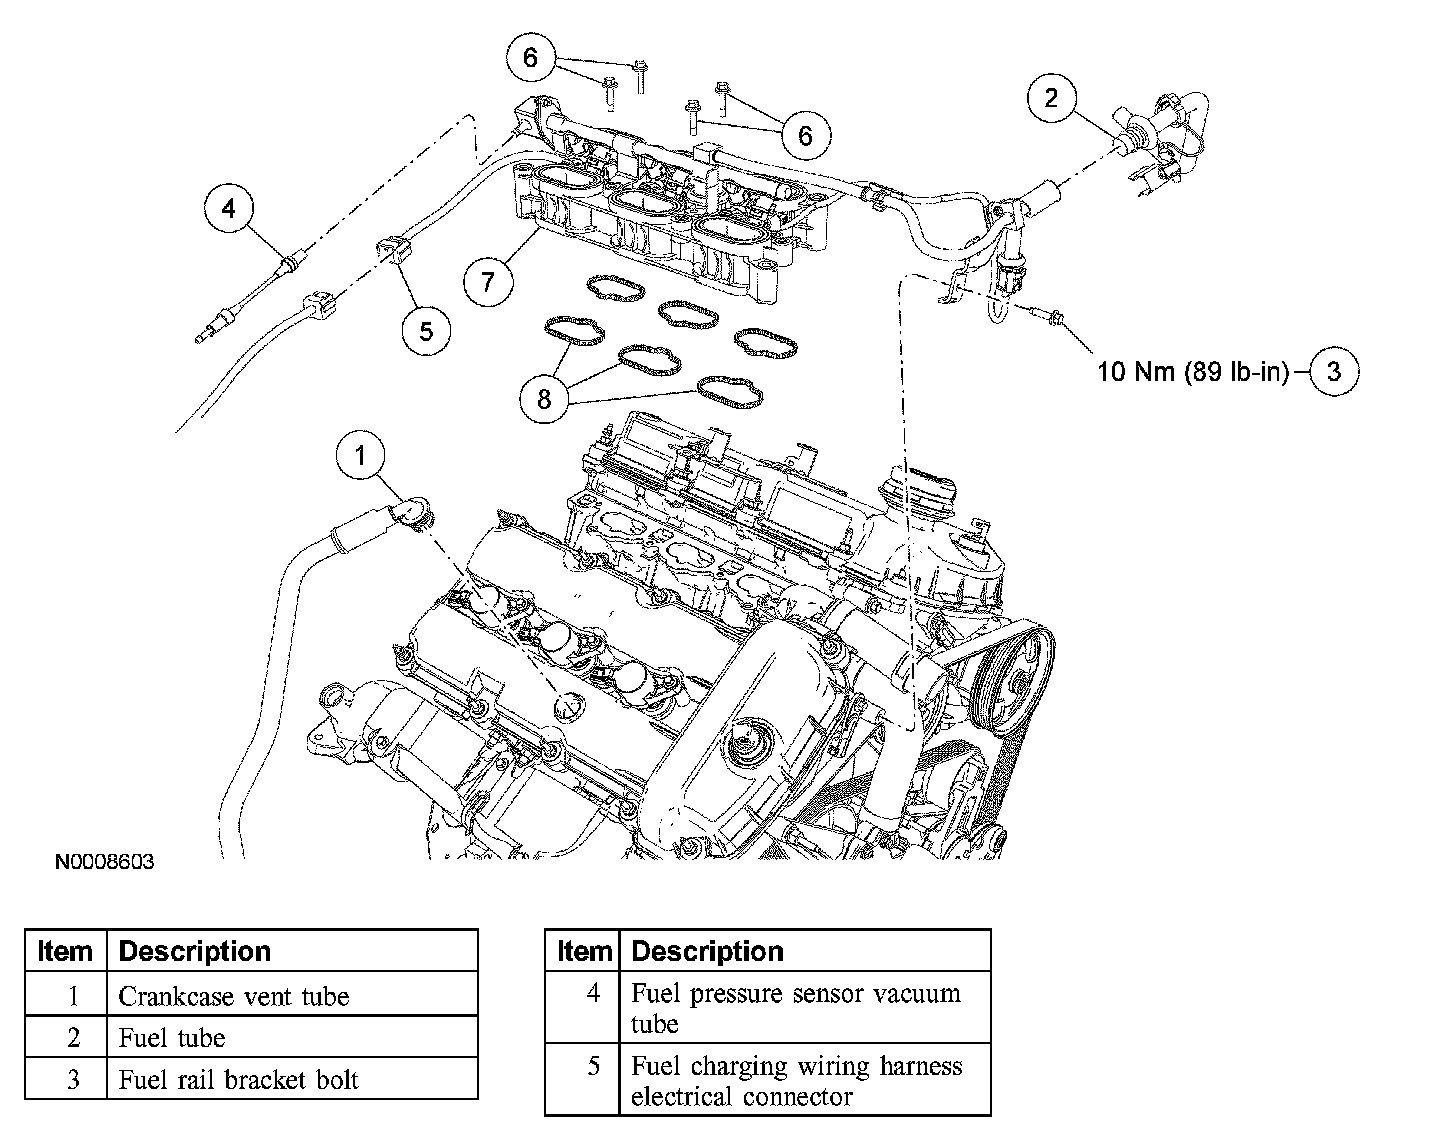
3. Remove the upper intake manifold.
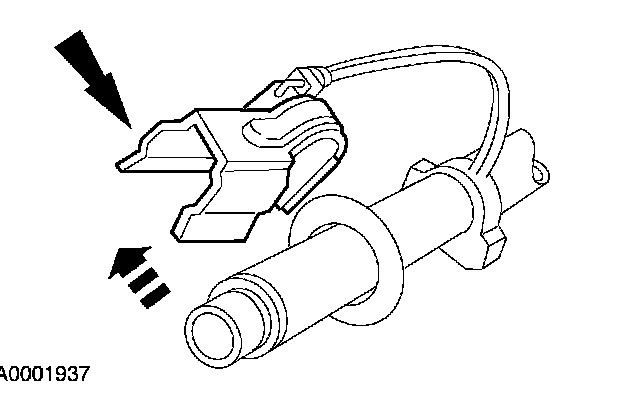
4. Remove the clip.
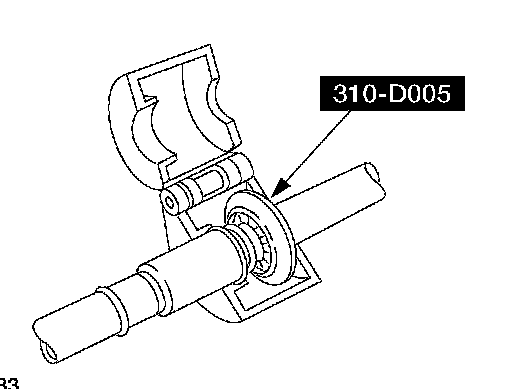
5. Install the special tool.
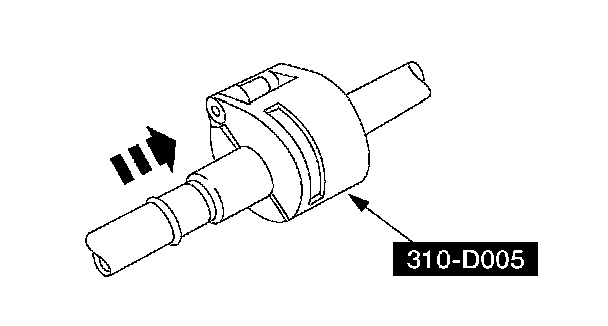
6. Close the special tool and push it into the open side of the cage.
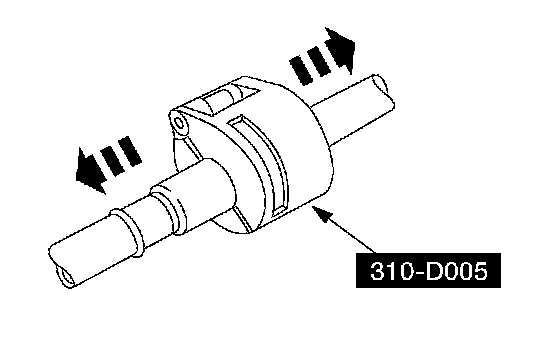
7. Separate the fitting and remove the special tool.
8. Remove the fuel rail bracket bolt.
9. Disconnect the fuel pressure sensor vacuum tube.
10. Disconnect the fuel rail wiring harness electrical connector.
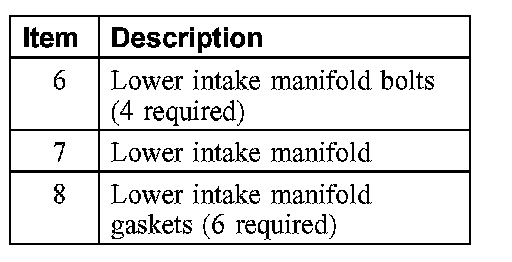
11. Remove the 4 bolts and the lower intake manifold.
Installation
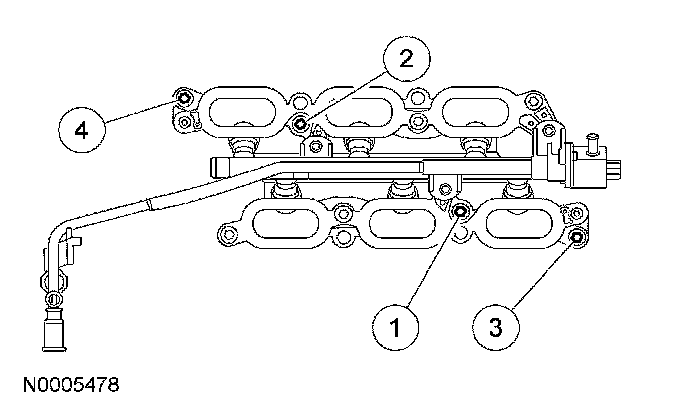
1. NOTE: Clean and inspect all sealing surfaces. Inspect and install new gaskets as necessary.
Position the lower intake manifold and install the bolts.
^ Tighten in the sequence shown to 10 Nm (89 inch lbs.).
2. Connect the fuel rail wiring harness electrical connector.
3. Connect the fuel pressure sensor vacuum tube.
4. Install the fuel rail bracket bolt.
^ Tighten to 10 Nm (89 ft. lbs.).
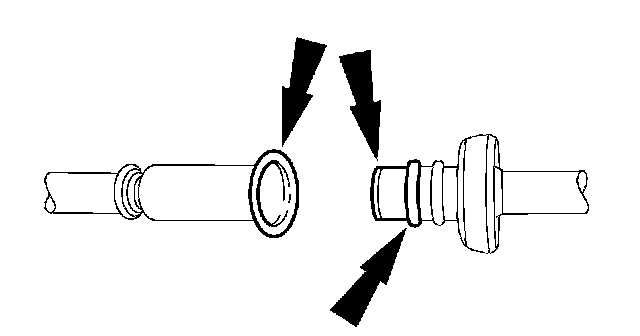
5. Connect the spring lock coupling.
^ Clean and inspect both coupling ends.
^ Lubricate the O-rings with clean engine oil.
^ Connect the coupling.
^ Pull on the coupling to make sure it is fully engaged.
^ Install the clip.
6. Install the upper intake manifold.