Heater Core: Service and Repair
REMOVAL
NOTE: If a heater core leak is suspected, the heater core must be pressure leak tested before it is removed from the vehicle.
1. Remove the instrument panel. For additional information, refer to: Dashboard/Instrument Panel. Service and Repair
2. Drain the coolant from the radiator so that the coolant level is below the heater core.
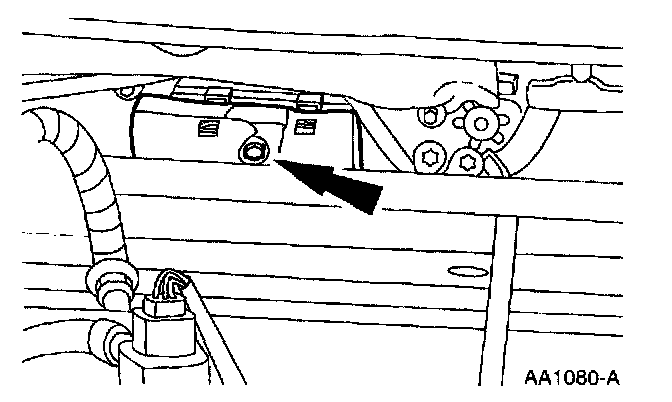
3. Loosen the screw and disconnect the electrical connector from the Powertrain Control Module (PCM).
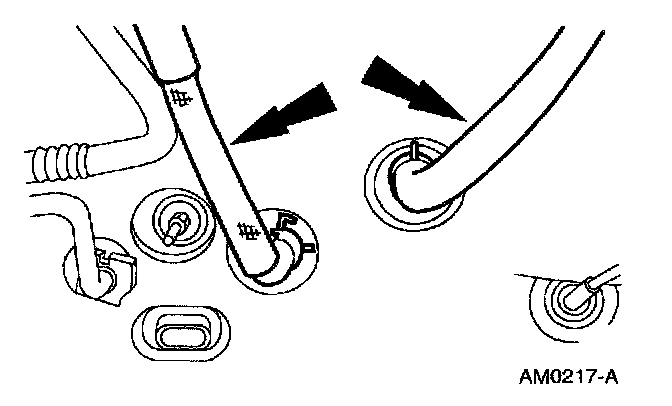
4. Disconnect the heater water hoses from the heater core.
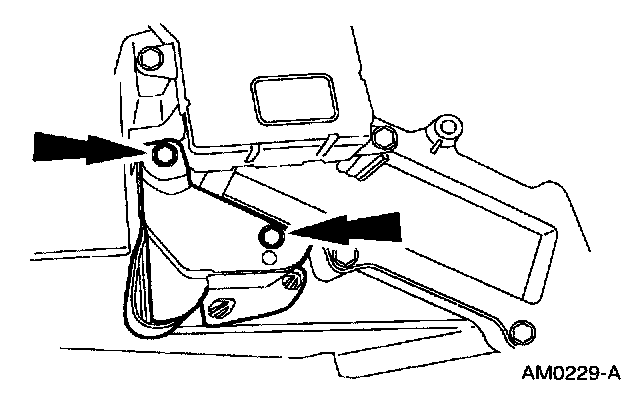
5. Remove the screws and the metal cover.
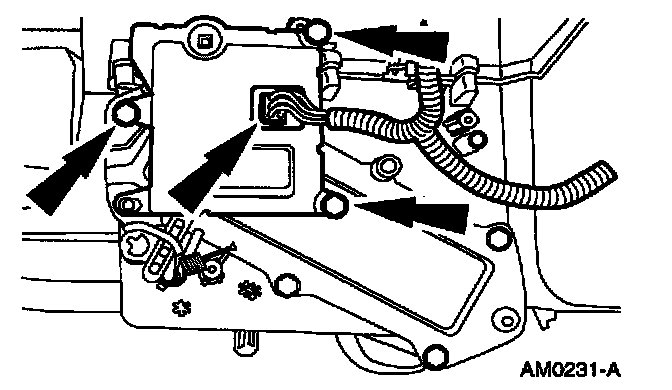
6. Remove the A/C electronic blend door actuator.
- Disconnect the wire harness connector.
- Remove the screws and remove the A/C electronic blend door actuator.
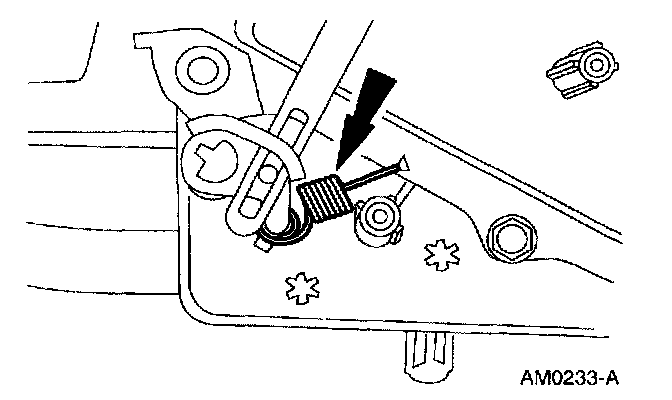
7. Remove the A/C air intake flue damper assist spring.
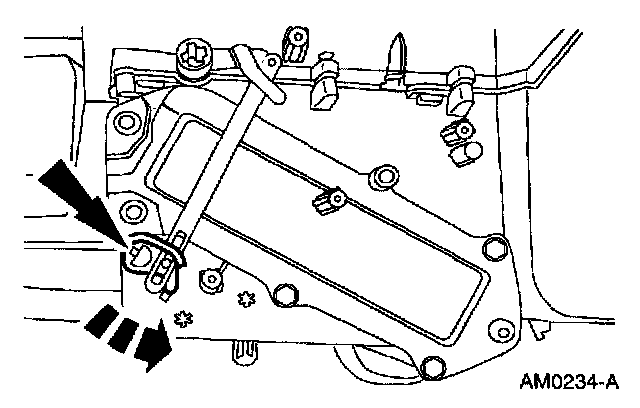
8. Depress the locking ramp and remove the A/C damper door shaft from the air temperature control door shaft.
CAUTION: Do not attempt to bend any part of the A/C damper door shaft. It is brittle and will break.
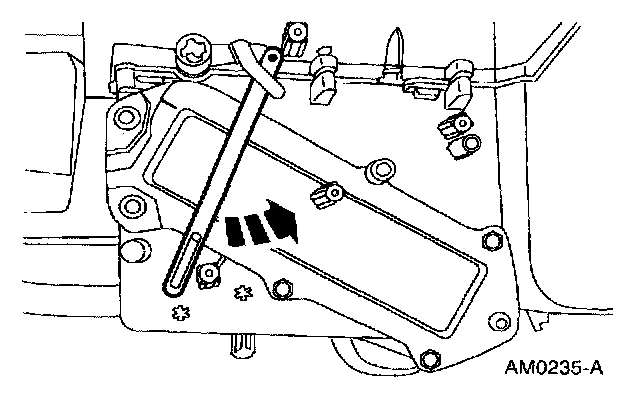
9. Remove the A/C evaporator case outlet door shaft.
CAUTION: Do not attempt to bend any part of the lever. It is brittle and will break.
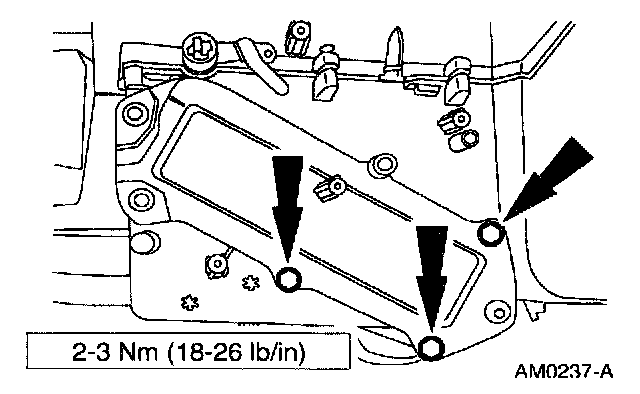
10. Remove the screws and the heater core cover.
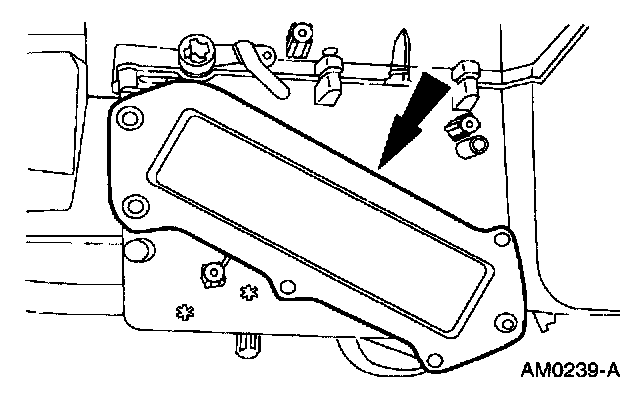
11. Remove the heater core cover seal.
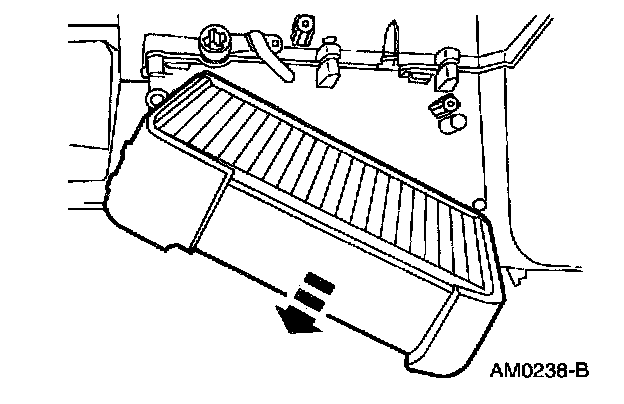
12. Remove the heater core.
INSTALLATION
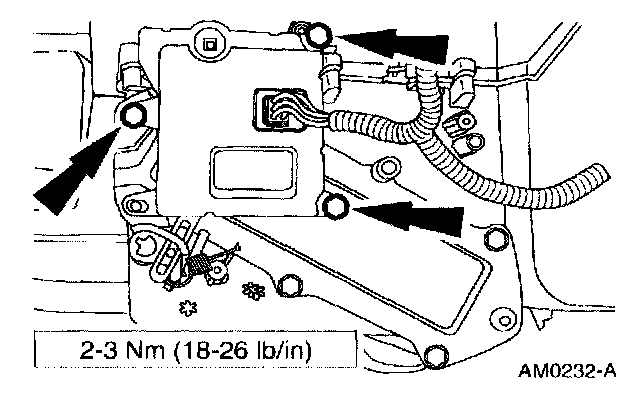
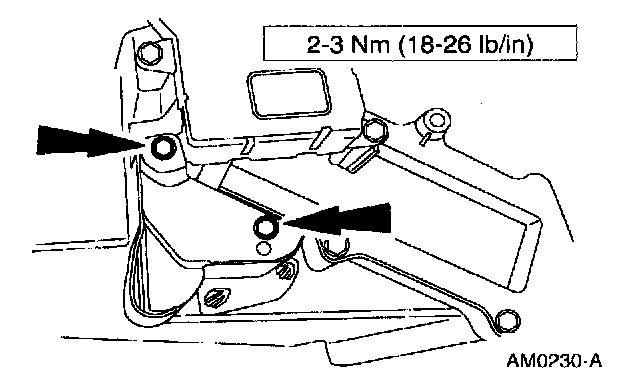
1. To install, reverse the removal procedure.
- Lubricate the coolant hoses with MERPOL(R) meeting Ford specification ESE-M99B144-B or plain water only, if needed.