Compressor HVAC: Service and Repair
REMOVALCAUTION: To prevent refrigerant contamination, if you are replacing an A/C compressor which has failed internally, you must perform the following procedures:
- If Rotunda A/C Flusher 014-00991 or equivalent is available, perform the Flushing procedure. A/C System Flushing
- If Rotunda A/C Flusher 014-00991 or equivalent is not available, perform the Refrigerant System Filtering after A/C compressor Replacement procedure. A/C System Filtering
- Replace the A/C evaporator core orifice.
NOTE: Replacement of the suction accumulator/drier is not required when repairing the air conditioning system except when there is physical evidence of system contamination from a failed A/C compressor or damage to the suction accumulator/drier.
1. Recover the refrigerant.
2. Turn the air suspension off.
3. Raise the vehicle on a hoist.
4. Remove the drive belt from the A/C clutch pulley.
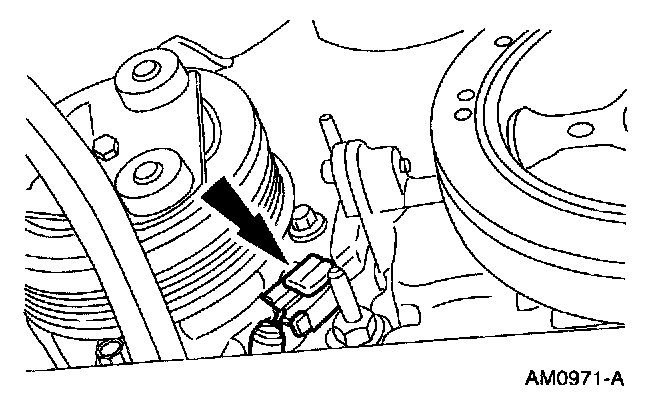
5. Disconnect the wire harness connector from the crankshaft position sensor.
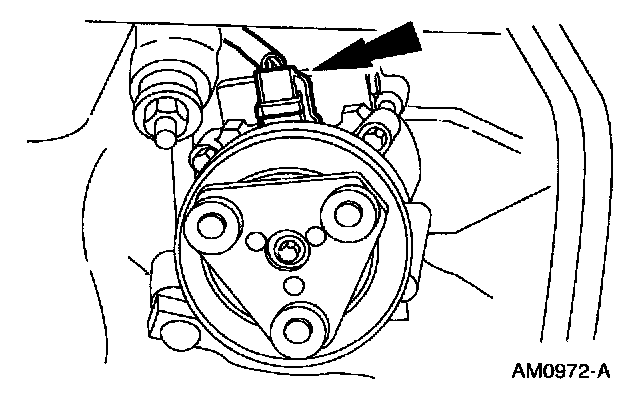
6. Disconnect the connector.
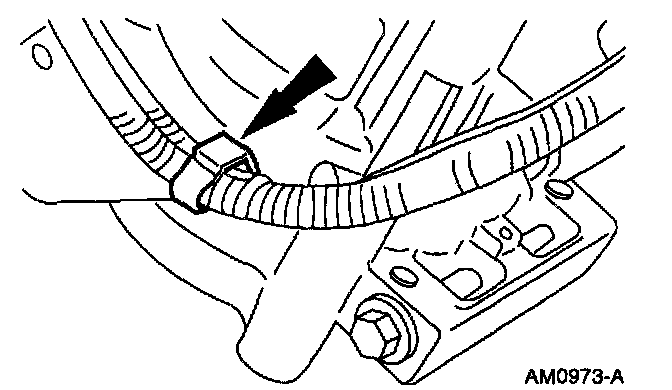
7. Disengage the wire harness retainer from the bracket.
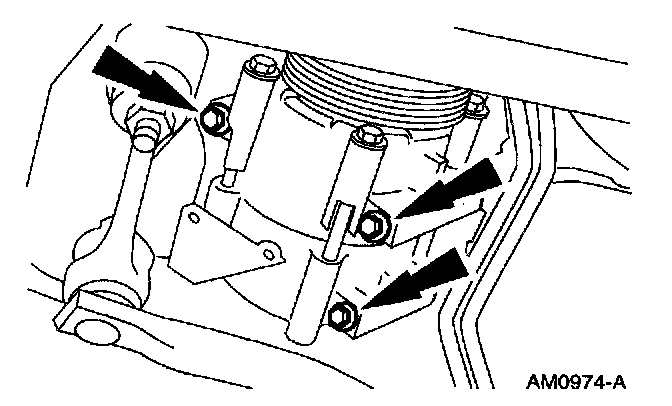
8. Remove the bolts and lower the A/C compressor.
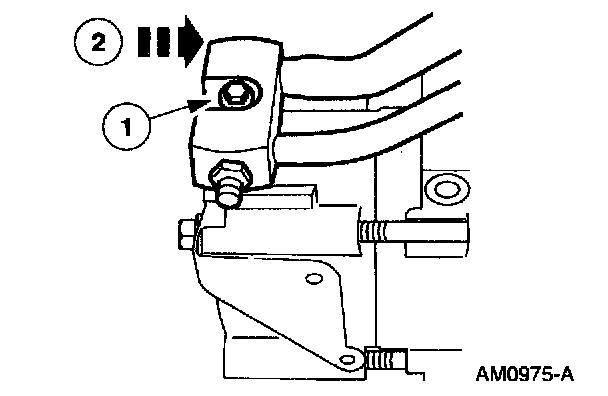
9. Remove the A/C compressor.
1. Loosen the bolt.
2. Remove the A/C compressor.
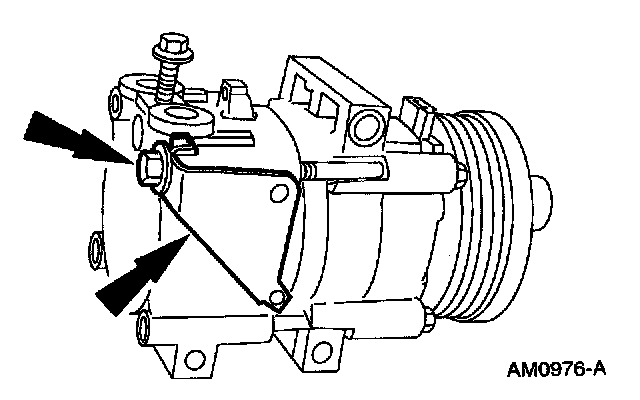
10. Remove the bolt and remove the bracket from the A/C compressor.
INSTALLATION
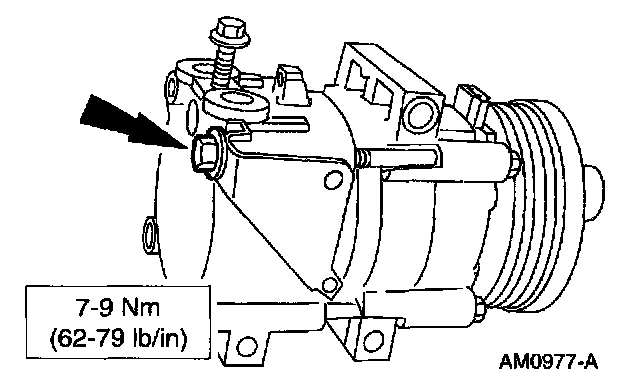
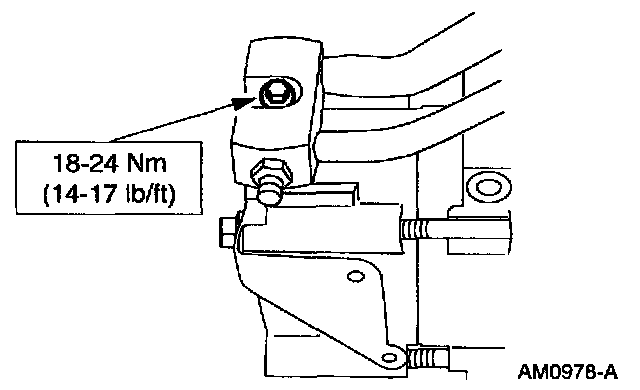
1. Follow the removal procedure in reverse order.
- Service the replacement A/C compressor with the proper amount of PAG refrigerant compressor oil F7AZ-19589-DA or Motorcraft YN12c or equivalent meeting Ford specification WSH-M1C231-B.
- Lubricate the O-ring seal with PAG refrigerant compressor oil F7AZ-19589-DA or Motorcraft YN12c or equivalent meeting Ford specification WSH-M1C231-B.
- Apply Pipe Sealant with Teflon (R) D8AZ-19554-A or equivalent meeting Ford specification WSH-M2G350-A2 and ESP-M18P7-A to the threads of the A/C manifold bolt.