Transmission Installation
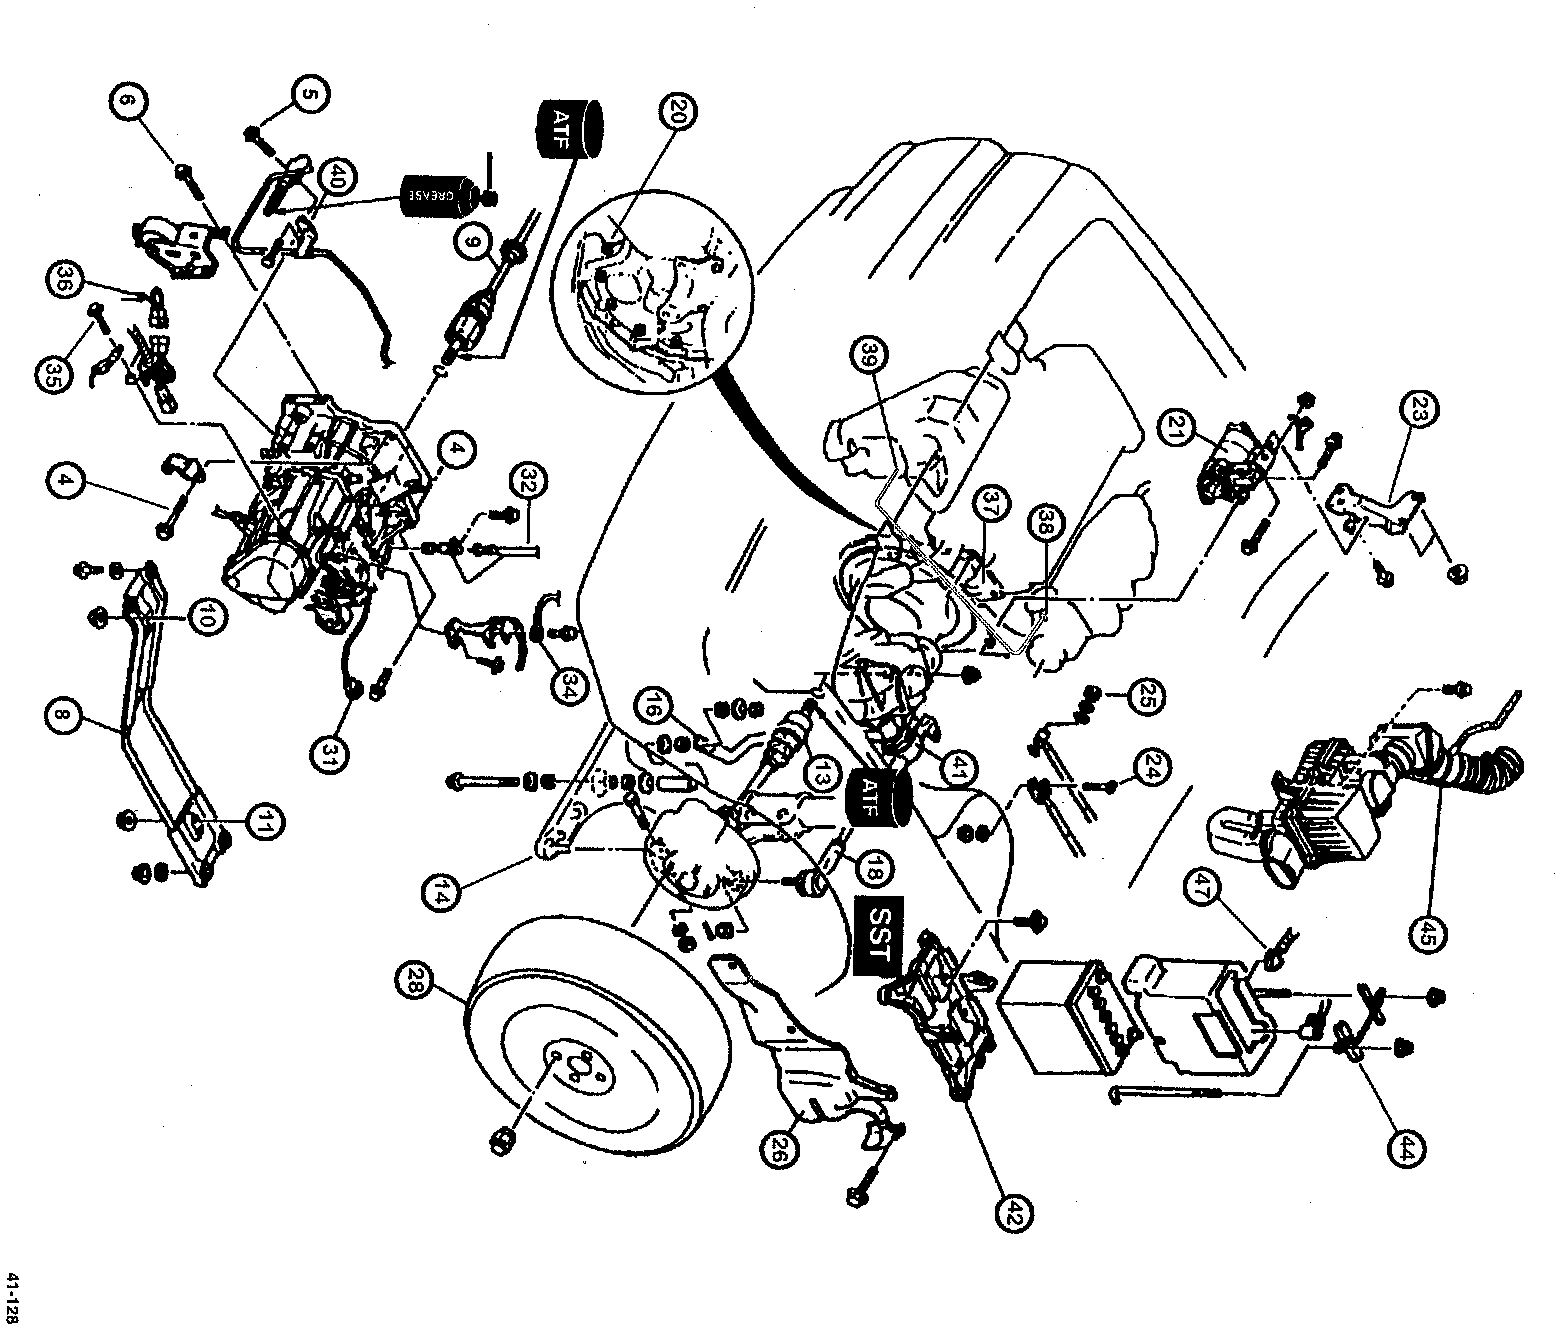
1. Raise and suitably support the vehicle.
2. Set the transaxle on a transaxle jack or suitable floorjack and place it under vehicle.
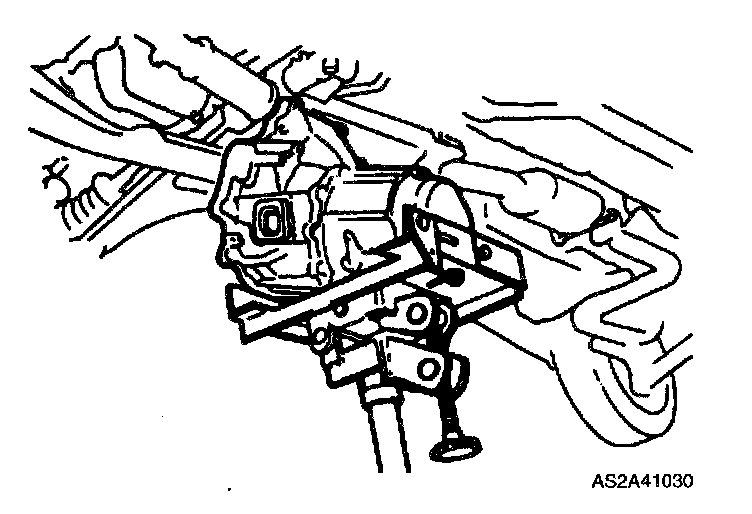
3. Raise the transaxle and align it with the engine.
4. Connect the transaxle to the engine using four mounting bolts through the clutch housing (two top, two side).
Tightening torque: 48 - 65 ft. lbs.
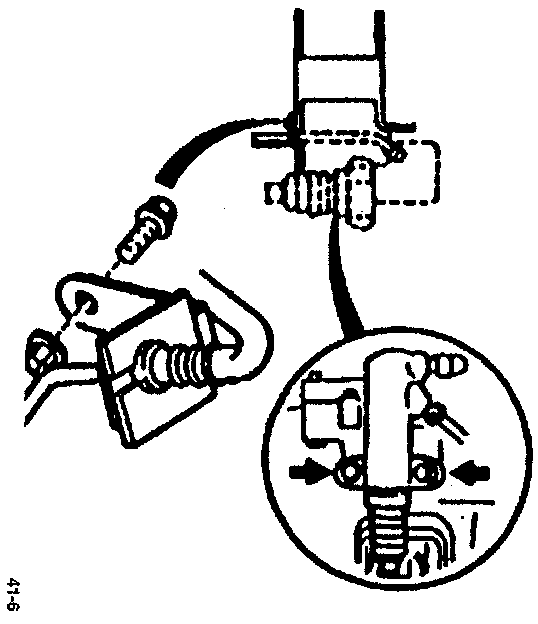
5. Install clutch release cylinder with two bolts.
Tightening torque: 12 - 17 ft. lbs.
6. Install front engine mount (#2) four bolts.
Tightening torque: 45 - 65 ft. lbs.
7. Raise the engine and transaxle together until the engine mounting member can be installed.
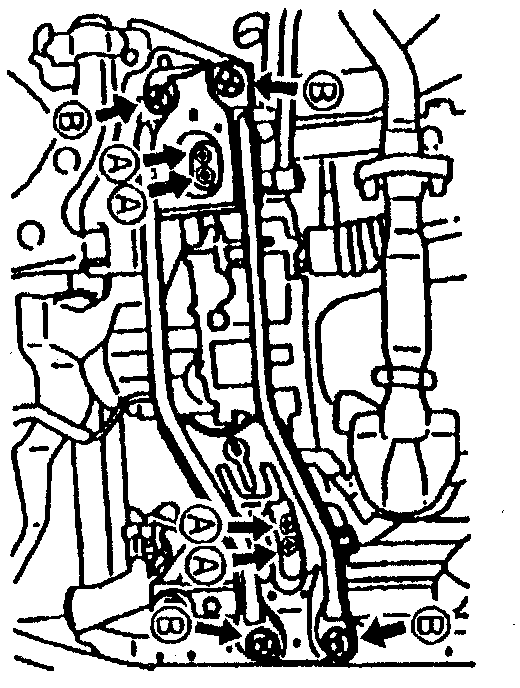
8. Install the mounting member using the engine mounting member bolts (two front) and nuts (two rear).
Tightening torque: 27 - 38 ft. lbs.
9. Remove the floor jacks.
10. Install the #2 engine mount to the mounting member.
Tightening torque: to 27 - 38 ft. lbs.
11. Install the #1 engine mount to the mounting member.
Tightening torque: 27 - 38 ft. lbs.
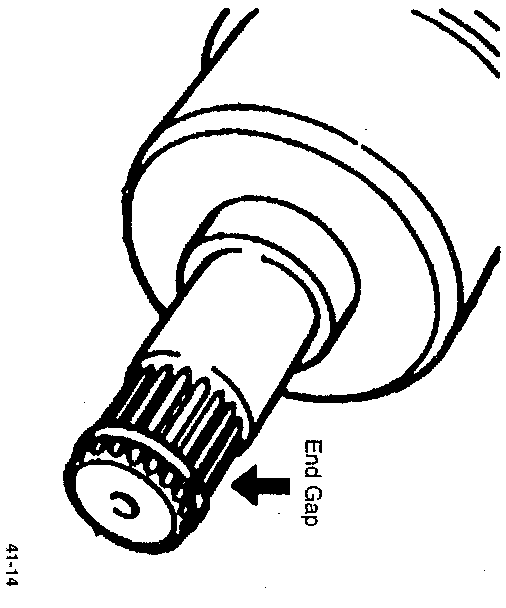
12. Install a new clip onto the left driveshaft.
13. With the opening of the clip pointing upward, push the left driveshaft into the transaxle.
14. Install the joint shaft into the transaxle.
15. Install the joint shaft support bearing mount onto the cylinder block with three bolts.
Tightening torque: 69 - 83 ft. lbs.
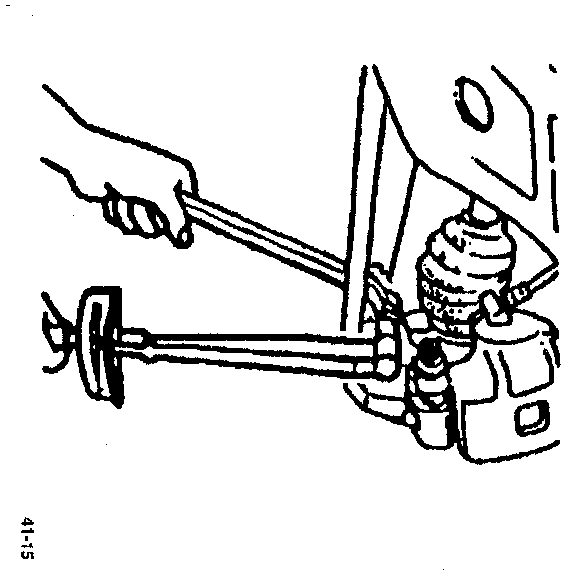
16. Install the left and right ball joints.
17. Install the pinch bolts and nuts.
Tightening torque: 32 - 43 ft. lbs.
18. Install both right and left stabilizer end link hardware as follows:
A. Install one washer and one bushing onto one bolt.
B. Insert bolt through control arm.
C. Install (in order) one bushing, one washer, one sleeve, one washer, one bushing, one stabilizer, one bushing, one washer, one nut (tighten to specification).
Tightening torque: 14 - 18 ft. lbs.
19. Install a second locking nut.
Tightening torque: 10 ft. lbs.
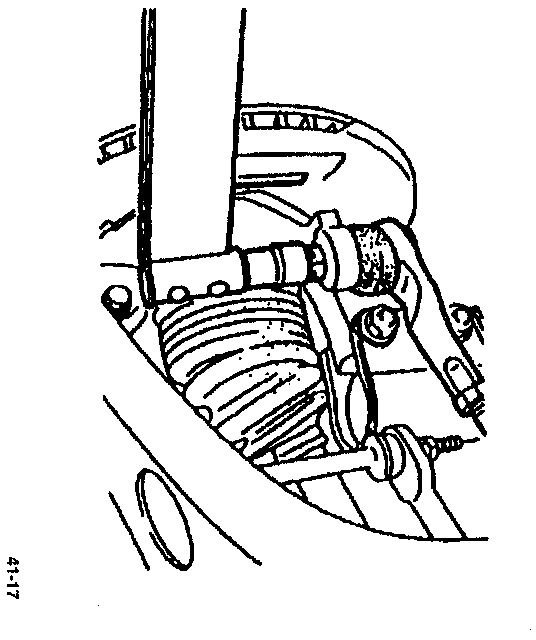
20. Install both right and left tie-rod ends onto the steering knuckles.
21. Secure tie-rods with one tie-rod end nut (32-41 ft. lbs.) and one cotter pin (bend over after installation).
22. Install five engine oil pan-to-transaxle mounting bolts.
Tightening torque: 28 - 38 ft. lbs.
23. Install the starter with three starter bolts.
Tightening torque: 28 - 38 ft. lbs.
24. Install the front exhaust pipe and catalytic converter with four bolts (two front, two rear).
Tightening torque: 28 - 38 ft. lbs.
25. Install the intake manifold support bracket with five bolts (two upper, two lower, one middle).
Tightening torque: 20 - 30 ft. lbs.
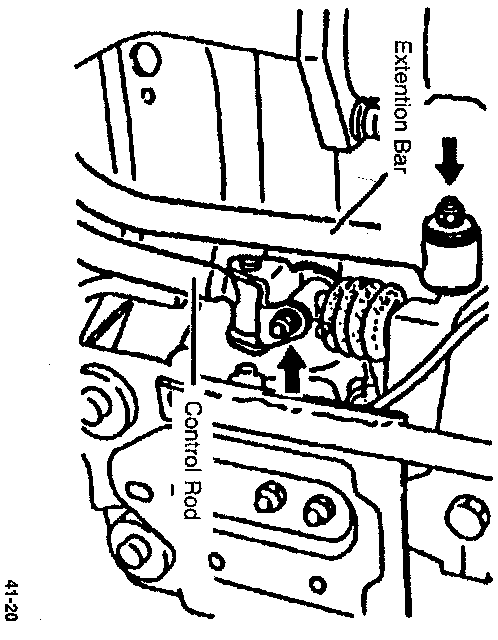
26. Install the shift control rod with one bolt and nut.
Tightening torque: 12 - 17 ft. lbs.
27. Install the extension bar with one nut.
Tightening torque: 23 - 34 ft. lbs.
28. Install the two driver's side wheel well splash shields and tighten the seven bolts to specification.
Tightening torque: 10 - 12 ft. lbs.
29. Verify that the transaxle drain plug is installed.
Tightening torque: 20 - 30 ft. lbs.
30. Install both front wheels and hand-tighten the lug nuts.
31. Lower vehicle until there is a light weight on the wheels and torque the four lug nuts to specification.
Tightening torque: 66 - 86 ft. lbs.
32. Lower the vehicle completely.
33. Connect the neutral position switch connector.
34. Add gear oil through the the speedometer driven gear mounting hole until the level is in the middle of the gear when it is installed completely.
35. Install the speedometer driven gear using one bolt.
Tightening torque: 72 - 108 inch lbs.
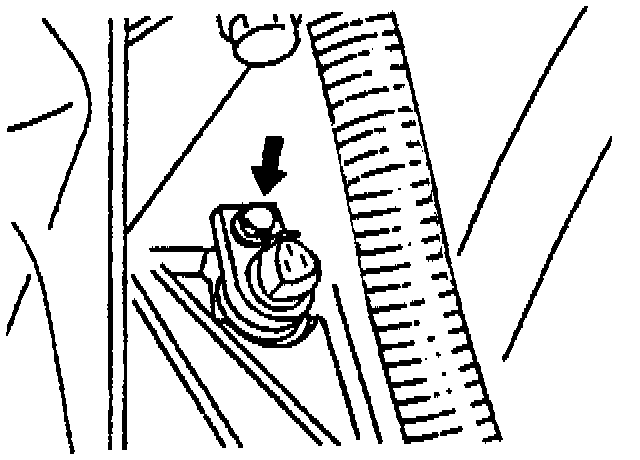
36. Install the vehicle speed sensor.
37. Connect the vehicle speed sensor connector onto the right side of the transaxle.
38. Connect the ground strap to the top of the transaxle (one bolt).
Tightening torque: 12 - 17 ft. lbs.
39. Connect the back-up light connector support bracket with one bolt.
Tightening torque: 12 - 17 ft. lbs.
40. Connect the back-up light connector.
41. Install the bolt to the EGR tube bracket.
Tightening torque: 10 - 20 ft. lbs.
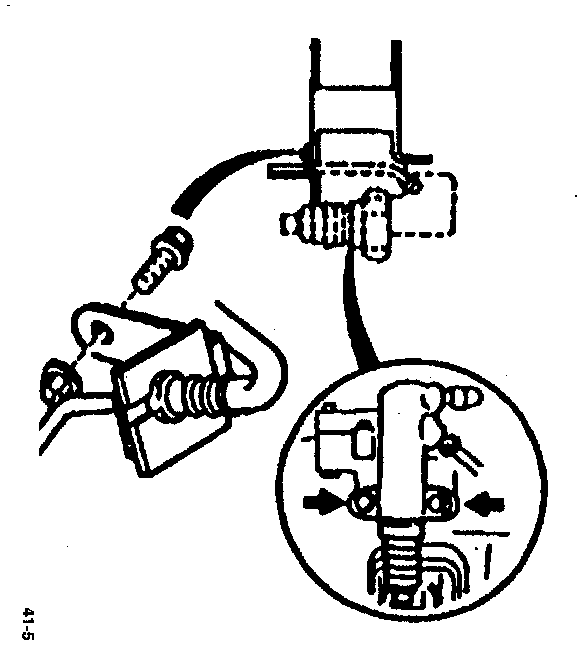
42. Install the two EGR to intake manifold bolts and tighten to specification.
Tightening torque: 10 - 20 ft. lbs.
43. Install the EGR to exhaust manifold bolt.
Tightening torque: 10 - 20 ft. lbs.
44. Install the hydraulic hose support bracket to transaxle with one bolt.
Tightening torque: 12 - 17 ft. lbs.
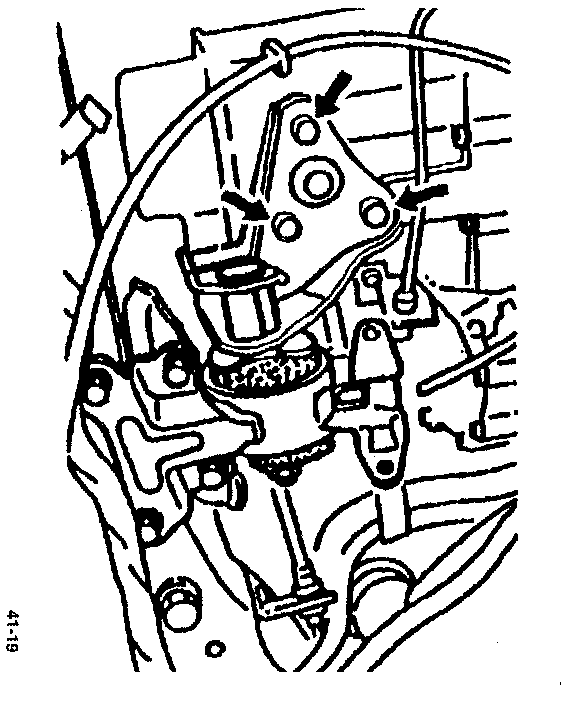
45. Install the #4 engine mount seven bolts (four to body, three to transaxle).
Tightening torque: 50 - 68 ft. lbs.
46. Install the battery tray with three bolts and one nut.
Tightening torque: 10 - 12 ft. lbs.
47. Connect the air intake hose to the throttle body and secure with a clamp.
48. Install the battery and hold down. Secure with two bolts and nuts.
Tightening torque: 10 - 12 ft. lbs.
49. Install the air cleaner assembly and hose to the chassis with three bolts.
Tightening torque: 10 - 20 ft. lbs.
50. Connect the mass air flow sensor connector.
51. Connect the positive battery cable, then the negative battery cable.
52. Test vehicle and check fluid levels.