Synchronizer Hub: Service and Repair
DISASSEMBLY1. NOTE: The following procedures apply to all synchronizer assemblies. The gear synchronizers are slightly different in design. Notation is made where procedural differences occur.
Before disassembling the synchronizer, scribe alignment marks on the sleeve and hub for assembly reference.
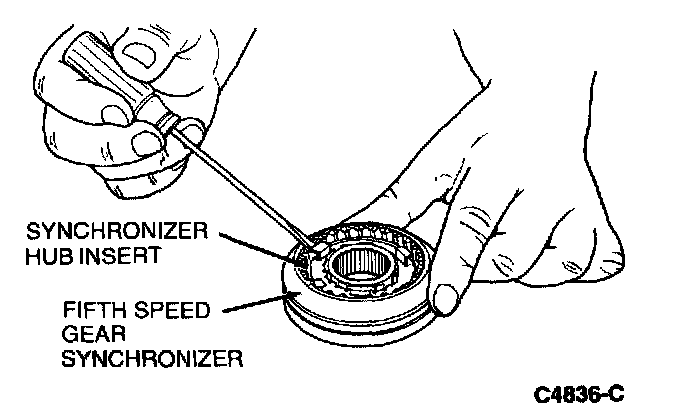
2. On fifth speed gear synchronizer only, remove the synchronizer hub insert).
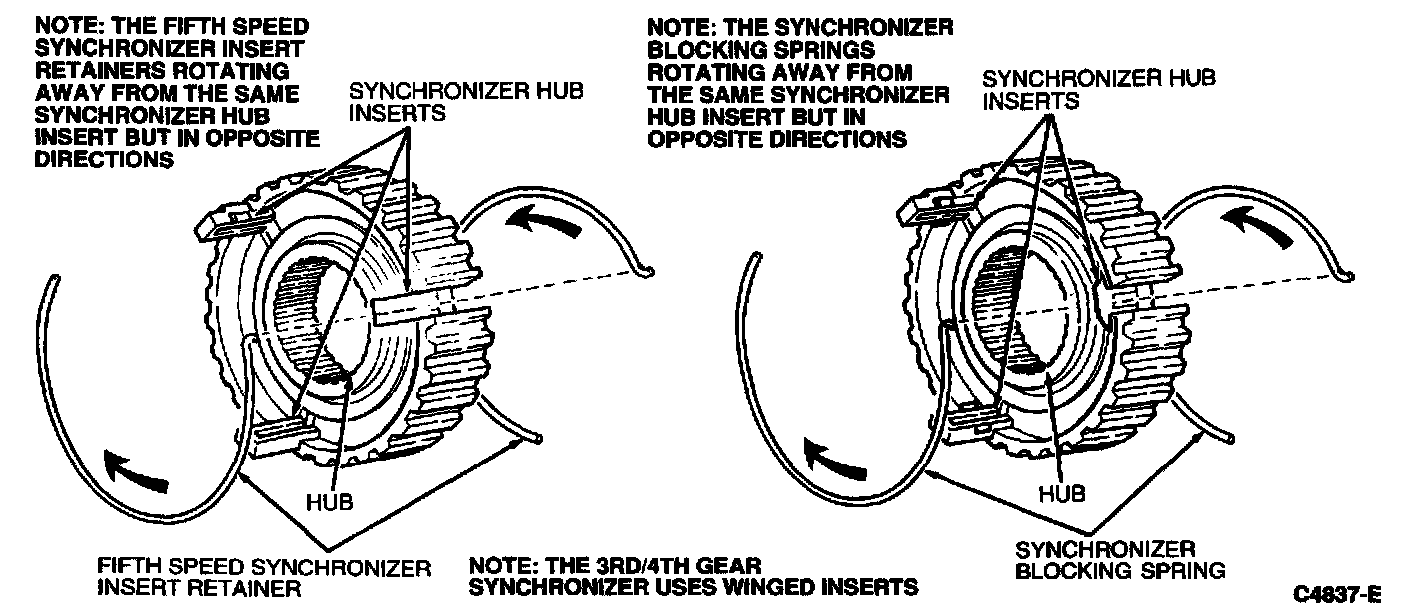
3. NOTE: The first/second gear synchronizer is available only as an assembly with the output and fifth gear drive shaft. The synchronizer hub is pressed onto the output and fifth gear drive shaft with an interference fit; therefore, no attempt should be made to separate the hub from the output and fifth gear drive shaft. The synchronizer blocking springs and synchronizer hub inserts are available for service. If the hub or sleeve is worn, the output and fifth gear drive shaft and synchronizer must be replaced as an assembly.
Using a screwdriver, remove the two synchronizer hub inserts. Remove the synchronizer hub inserts.
ASSEMBLY
1. NOTE: When assembling a synchronizer sleeve and hub, match the alignment marks made during disassembly. The sleeve and hub have an extremely close fit and must be held square during assembly to prevent jamming. Do not force the sleeve onto the hub.
Assemble the synchronizer hub inserts and synchronizer blocking springs onto the sleeve and hub. The synchronizer blocking springs engage the same synchronizer hub insert but rotate in opposite directions.
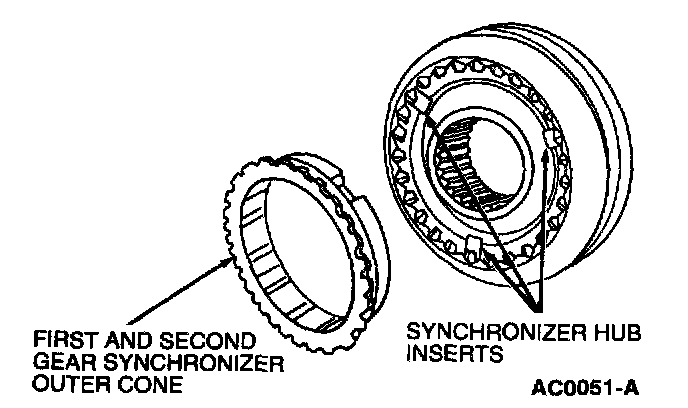
2. On fifth-speed gear synchronizer only, install the synchronizer hub insert. Make sure the retainer tabs are positioned over the synchronizer hub inserts.
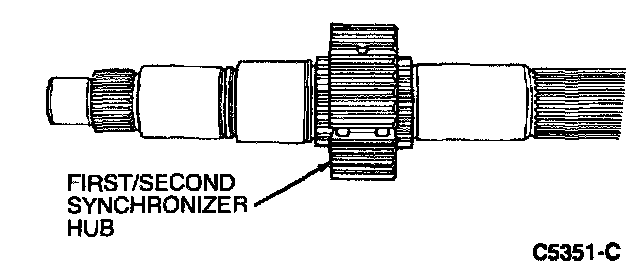
3. Assemble synchronizer blocking springs, synchronizer hub inserts and sleeve onto hub. Refer to illustration in Step 1 for positioning of the synchronizer blocking springs and synchronizer hub inserts.