Compressor Hose Assembly Replacement
REMOVAL PROCEDURE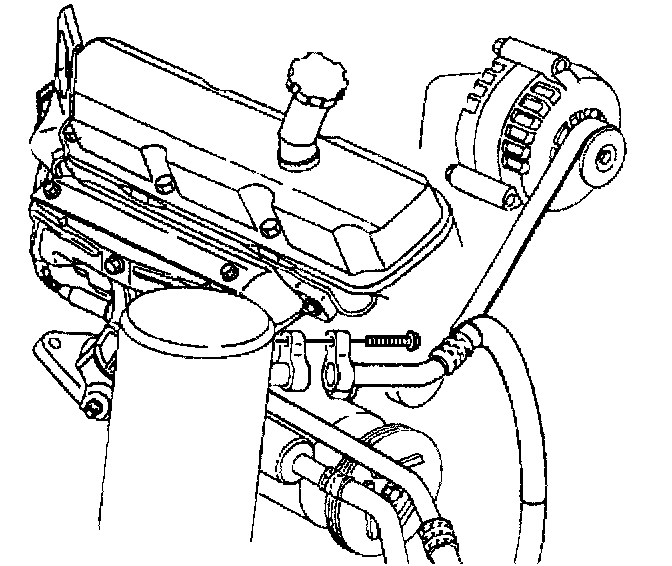
1. Recover the refrigerant.
2. Remove the air conditioning (A/C) compressor and condenser hose bolt at the accumulator.
3. Discard the O-ring.
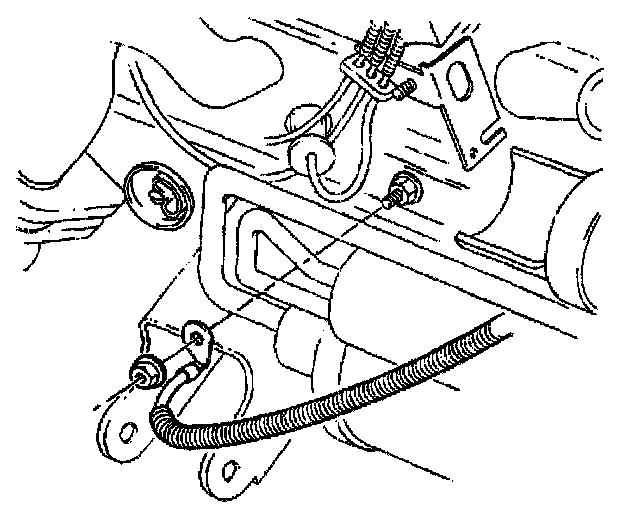
4. Remove the negative battery cable nut from the engine block stud.
5. Remove the negative battery cable from the stud.
6. Raise and suitably support the vehicle.
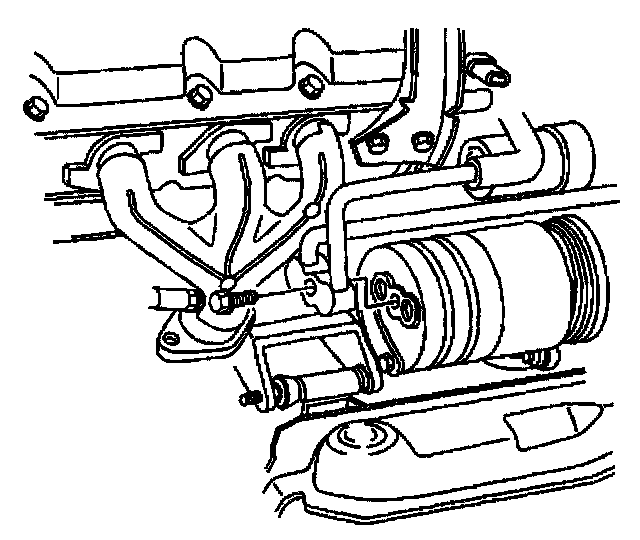
7. Remove the A/C compressor and condenser hose bolt.
8. Discard the O-ring.
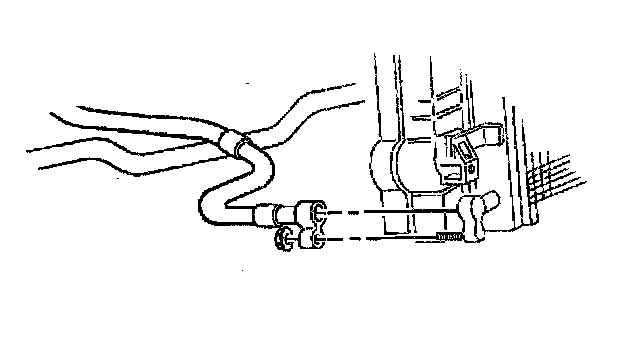
9. Remove the A/C compressor and condenser hose nut at the condenser.
10. Discard the O-ring.
11. Lower the vehicle.
12. Remove the A/C compressor and condenser hose from the vehicle.
INSTALLATION PROCEDURE
Lightly coat the O-rings with a mineral base 525 viscosity refrigerant oil.
1. Install the A/C compressor and condenser hose to the vehicle.
2. Raise and suitably support the vehicle.
3. Install a new O-ring.
NOTE: Refer to Fastener Notice in Service Precautions.
4. Install the A/C compressor and condenser hose nut at the condenser.
Tighten
Tighten the A/C compressor and condenser hose nut at the condenser to 16 N.m (12 lb ft).
5. Install a new O-ring.
6. Install the A/C compressor and condenser hose bolt.
Tighten
Tighten the A/C compressor and condenser hose bolt to 33 N.m (24 lb ft).
7. Lower the vehicle.
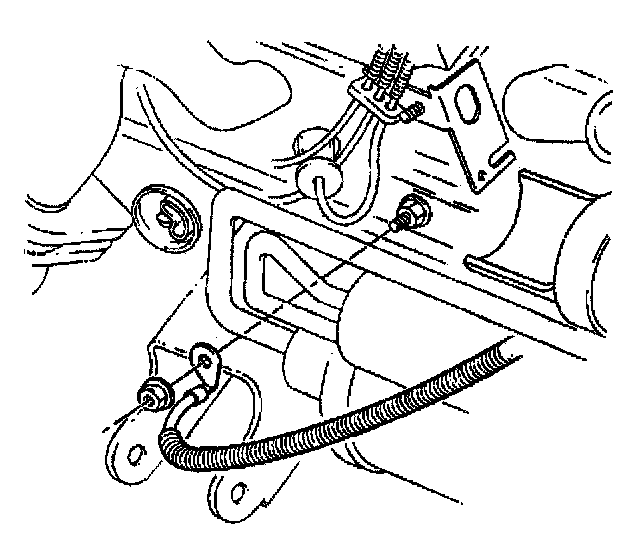
8. Install the negative battery cable to the stud.
9. Install the negative battery cable nut to the engine block stud.
Tighten
Tighten the negative battery cable nut to the engine block stud to 25 N.m (18 lb ft).
10. Install a new O-ring.
11. Install the A/C compressor and condenser hose bolt at the accumulator.
Tighten
Tighten the A/C compressor and condenser hose bolt at the accumulator to 16 N.m (12 lb ft).
12. Recharge the A/C system.
13. Perform a leak test on the A/C system.