Condenser HVAC: Service and Repair
CONDENSER REPLACEMENTREMOVAL PROCEDURE
TOOLS REQUIRED
J 39500-B A/C Refrigerant Recovery, Recycling and Recharging (ACR4) System
1. Recover the refrigerant from the A/C system. Refer to Refrigerant Recovery and Recharging.
2. Remove the hood latch support bracket.
3. Remove the right headlamp assembly (L67 engine only).
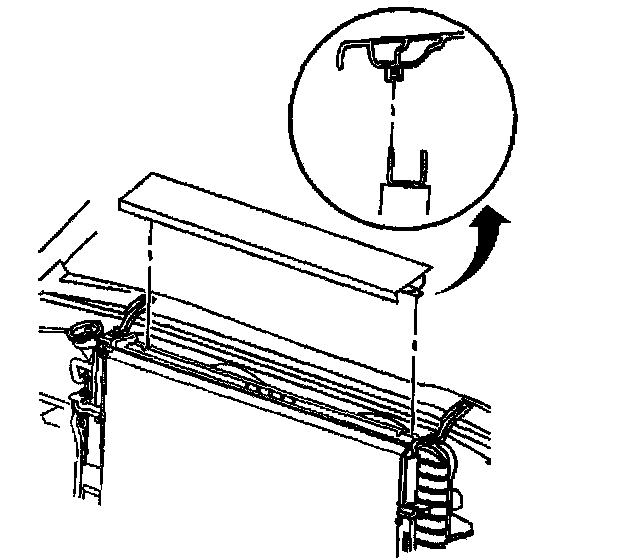
4. Remove the upper radiator seal.
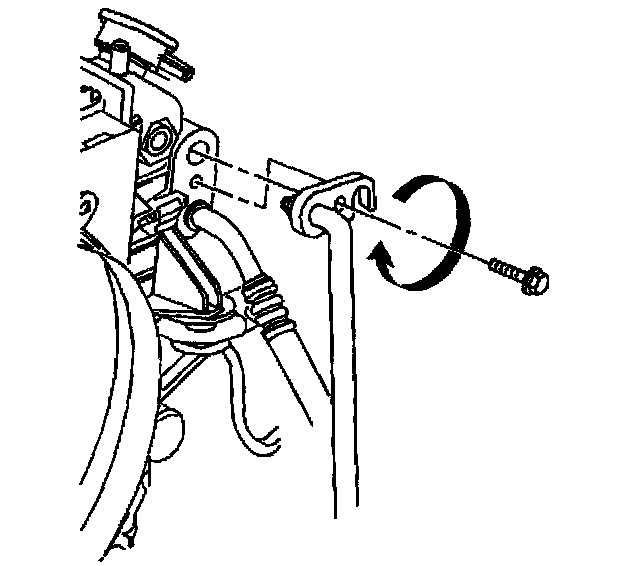
5. Disconnect the compressor hose from the condenser.
6. Disconnect the evaporator hose from the condenser.
7. Remove the condenser hose bracket bolt from the radiator.
IMPORTANT: The bolt retaining the condenser to the radiator end tank is a special length and should be the ONLY bolt used upon reinstallation. The use of a longer bolt will damage the radiator end tank.
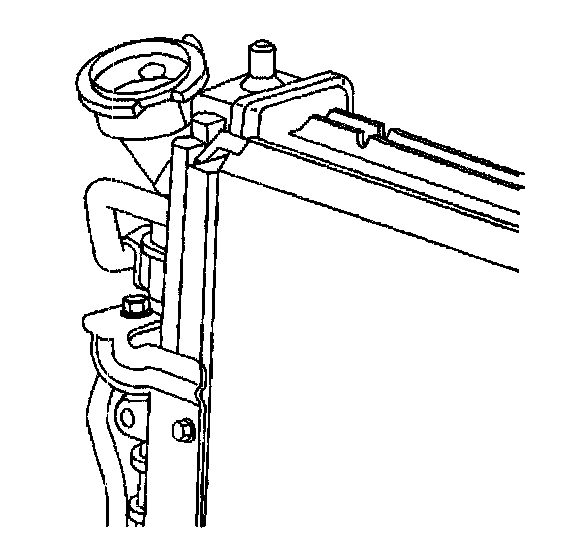
8. Remove the condenser to radiator mounting bolts.
9. Remove the condenser from the vehicle.
INSTALLATION PROCEDURE
TOOLS REQUIRED
J 39400-A Electronic Halogen Leak Detector
1. Fill the new condenser with the proper amount of refrigerant oil. Refer to Refrigerant Oil Distribution.
2. Install the condenser.
NOTE: Refer to Fastener Notice in Service Precautions.
IMPORTANT: The bolt retaining the condenser to the radiator end tank is a special length and should be the ONLY bolt used upon reinstallation. The use of a longer bolt will damage the radiator end tank.
3. Install the condenser mounting bolts.
Tighten
Tighten the connections to 6 N.m (53 lb in).
4. Install the condenser hose bracket and bolt.
Tighten
Tighten the connections to 2.5 N.m (23 lb in).
5. Install the evaporator hose to condenser.
Install the compressor hose to the condenser.
Tighten
Tighten the connections to 24 N.m (18 lb ft).
6. Install the upper radiator seal.
7. Install the right headlamp.
8. Install the hood latch bracket assembly.
9. Recharge the A/C system. Refer to Refrigerant Recovery and Recharging.
10. Test the A/C system for leaks using the J 39400-A. Refer to Leak Testing.