Left Combination Valve For Secondary Air System, Removing and Installing
Left combination valve for secondary air system, removing and installing
Special tools and equipment
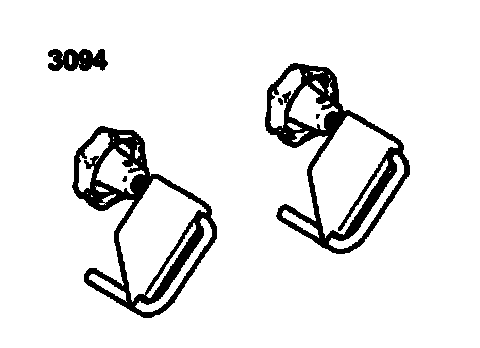
^ Hose clamps 3094
Removing
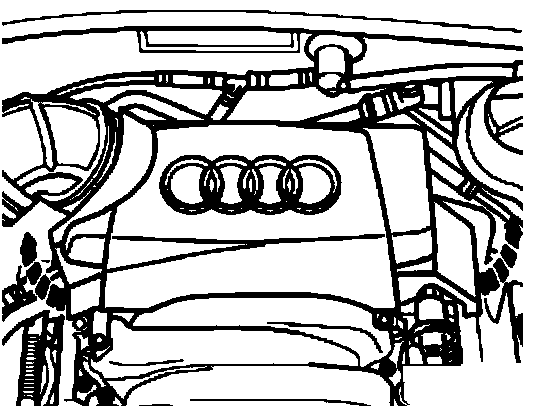
- Remove rear engine cover (arrows).
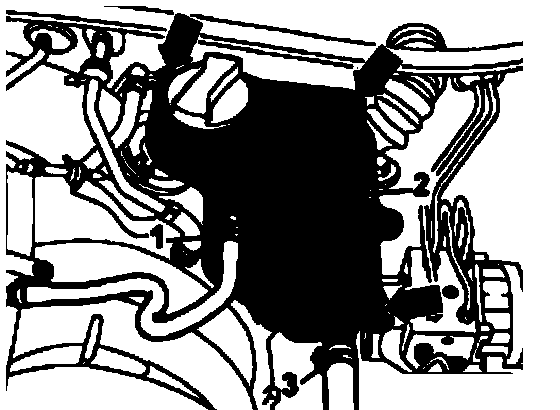
- Pinch off coolant hose -1- with hose clamp 3094 and remove coolant expansion tank.
- Remove bolts (arrows) and coolant expansion tank -2-.
- Disconnect wire to engine coolant level (ECL) warning switch -F66- at bottom of expansion tank and lay aside coolant expansion tank with coolant hose -3- connected.
- If necessary, use suitable plug to seal connection.
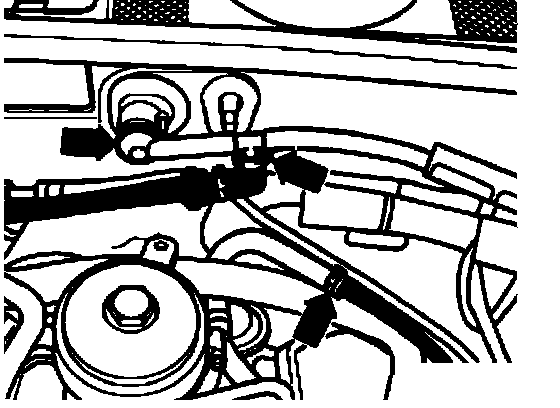
- Disconnect vacuum hoses at locations marked by (arrows).
- Remove crankcase breather hose at left cylinder head cover.
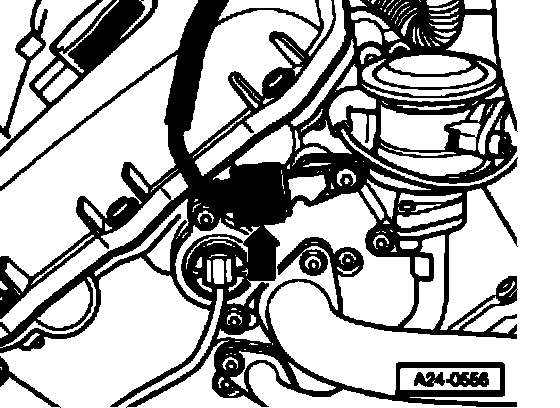
- Disconnect connector (arrow) for camshaft position (CMP) sensor 2G163- at left cylinder head.
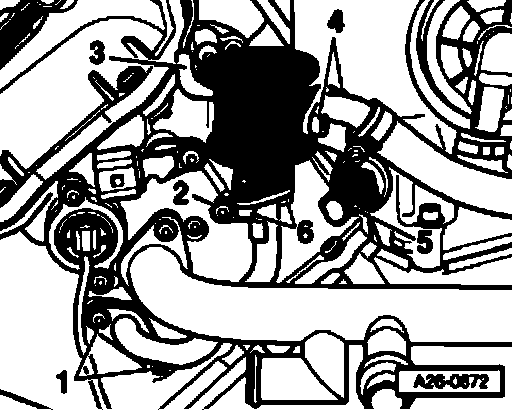
Note: Illustration shows engine from rear
- Remove vacuum hose -3-.
- Remove bolts -4-.
- Remove connector at oil pressure switch -5-.
- Remove oil pressure switch. - Remove bolts -1- and -2-.
- Swivel combination valve and remove bolts -6-.
- Detach combination valve and connecting pipe.
Note: Illustration shows engine from rear
Installing
Install in reverse order, note the following:
Note:
^ Replace gaskets and sealing rings.
^ Pay attention to installation position of gasket between cylinder head and connecting pipe.
^ Secure all hose connections with standard hose clamps; Refer to Part Supplier
- Check coolant level.
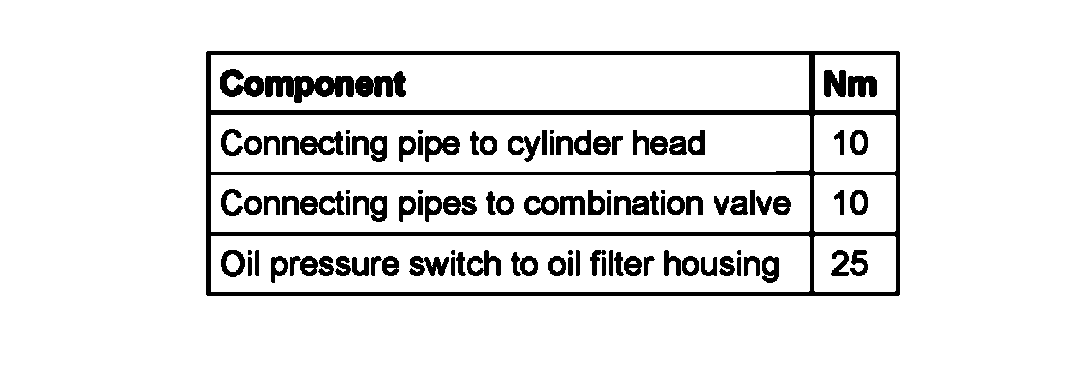
Tightening torques