Components
Components
Rear Final Drive
• When replacing the rear final drive, check the Haldex clutch oil level and the axle oil level and top off if necessary.
• Clean contact surfaces when repairing mounting brackets and waxed components. Contact surfaces must be completely free of oil and grease.
Guided Fault Finding, On Board Diagnostic and Test Instruments
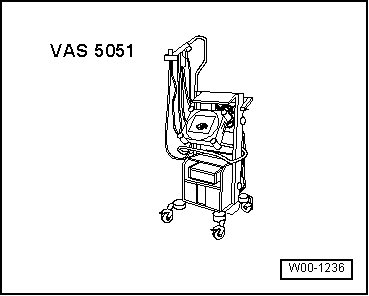
• Before performing repairs on Haldex clutch, malfunction cause must be determined as closely as possible via vehicle diagnostic, testing and information system (VAS 5051) in operating modes " Guided Fault Finding", "Vehicle Self-Diagnosis" and " Test Instruments".
O-rings, Gaskets and Seals
• Always replace O-rings, gaskets and seals.
• Always clean separation surfaces.
Before installing
• Before installing the radial shaft seals, lightly oil the outer circumference and fill the space between the sealing lips - arrow - halfway with sealing grease (G 052 128 A1).
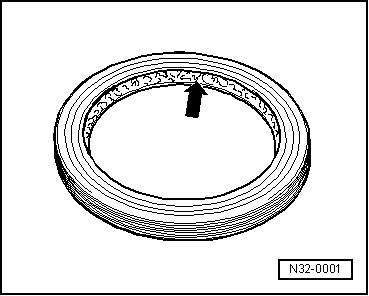
• Before installing the flange shaft/driveshaft radial shaft seals, lightly lubricate the outer circumference and the space between the sealing lips with high performance Haldex clutch oil (G 052 175 A1).
• The open side of the gaskets points toward the fluid to be sealed in.
After installation:
• For the Passat:
• Check and/or fill the rear final drive oil level, refer to => [ Rear Final Drive Oil Level, Checking and Filling ] Procedures.
• Check and/or fill the Haldex clutch oil level, refer to => [ Generation II Haldex Clutch Oil Level, Checking and Filling ] Generation II Haldex Clutch Oil Level, Checking and Filling.
• For the Passat CC and Tiguan:
• Check and/or fill the rear final drive oil level, refer to => [ Rear Final Drive Oil Level, Checking and Filling ] Procedures.
• Check and/or the Haldex clutch oil level, refer to => [ Generation IV Haldex Clutch Oil Level, Checking and Filling ] Generation IV Haldex Clutch Oil Level, Checking and Filling.
Fasteners
• Do not over stretch circlips.
• Always replace damaged or overstretched circlips.
• Circlips must locate properly in the groove.
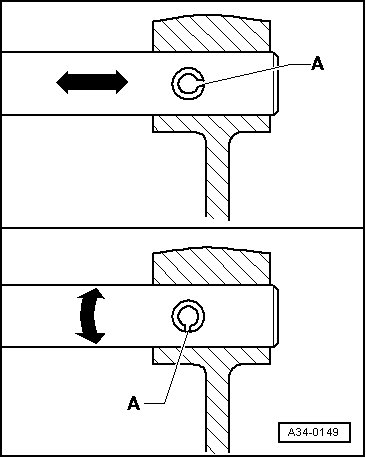
• Replace spring pins. Installation position: Slit - A - should be in line with the line of force- arrow -.
Bolts and Nuts
• Loosen and tighten the cover and housing mounting bolts or nuts in a diagonal sequence.
• Delicate parts must not be cross threaded. Loosen and tighten in stages in a diagonal sequence.
• The tightening torques stated apply to non lubricated bolts and nuts.
• Replace self locking bolts and nuts.
• Only wax all the contact surfaces on the threaded connection bolts and nuts after installing.
Bearings
• Install needle bearings with lettered side (thicker metal) towards fitting tool.
• Insert all the bearings in transmission with gear oil.
• Taper roller bearings fitted to one shaft must be replaced as a set. Use same make of bearings.
• Heat inner races to approximately 100 °C before installing.
• Do not interchange inner and outer bearing races with those from other bearings of the same size, bearings are paired.
Adjusting Shims
• Measure shims at several points using a micrometer. Tolerance variations make it possible to find the exact shim thickness required.
• Check for burrs and damage.
• Only install perfect shims.