Left Timing Chain Cover
Left Timing Chain Cover
Special tools, testers and auxiliary items required
• Hand drill with plastic brush attachment
• Protective eye wear
• Sealant, refer to the electronic parts catalog ETKA
Removing
- Remove the coolant shut-off valve. Refer to => [ Coolant Shut-Off Valve ] Removal and Replacement.
- Remove the bolts in the following sequence: - 8 to 1 -.
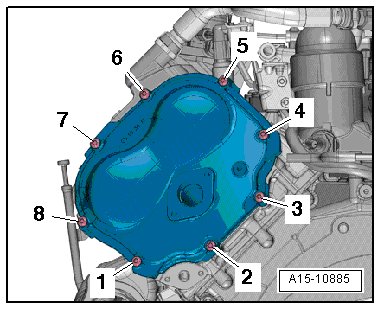
- Carefully remove the left cover for the timing chain from the bond.
Installing
• Tightening specifications, refer to => [ Left Timing Chain Cover, Tightening Specifications and Sequence ] Timing Chain Covers Overview.
• Replace O-rings.
- Remove old sealant form the grooves in the timing chain cover as well as from the sealing surfaces.
Risk of contaminating lubricating system.
• Cover open parts of engine.
Risk of eye injury.
• Wear protective eye wear.
- Remove the sealant residue on the cover for the timing chain, cylinder block and cylinder head, for example using a rotating plastic brush.
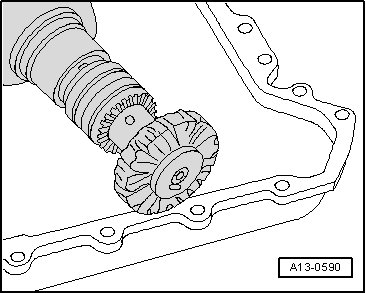
- Clean the sealing surfaces; they must be free of oil and grease.
• Note the expiration date of the sealing compound.
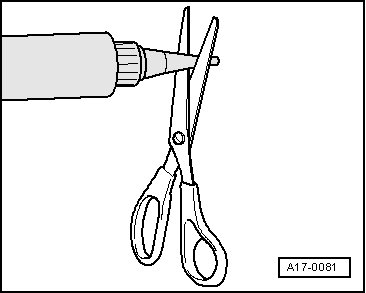
- Cut the tube nozzle at the front marking (nozzle diameter approximately 2 mm).
- Drive the left coolant intermediate pipe - 2 - out of the left timing chain cover with a drift.
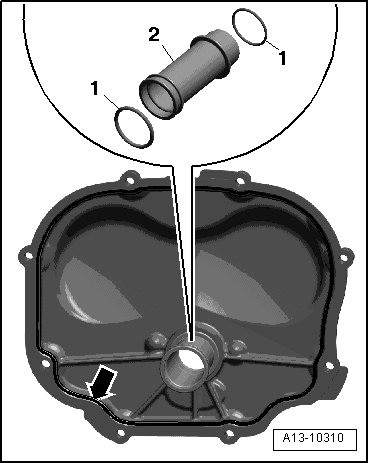
- Install the O-rings - 1 - in the coolant intermediate pipe.
- Insert the coolant intermediate pipe into the left timing chain cover.
The lubrication system could be plugged with excess sealant.
• Do not apply sealant bead thicker than indicated.
- Apply a sealant bead - arrow - to the clean sealing surfaces of the left timing chain cover as shown in the illustration.
• Thickness of sealant bead: 2.5 mm.
• The timing chain cover must be installed within 5 minutes after applying the sealant
- Position the left timing chain cover and tighten the bolts, refer to => [ Left Timing Chain Cover, Tightening
Specifications and Sequence ] Timing Chain Covers Overview.
The rest of the installation is performed in reverse order of removal, noting the following:
- Install the coolant shut-off valve. Refer to => [ Coolant Shut-Off Valve ] Removal and Replacement.